Thingsboard
Deploy Casdoor first (see Server installation). Then configure the application and Thingsboard as below.
ステップ1: Casdoorアプリケーションを設定する
- 新しいCasdoorアプリケーションを作成するか、既存のものを使用します。
- リダイレクトURLを追加します:
http://CASDOOR_HOSTNAME/login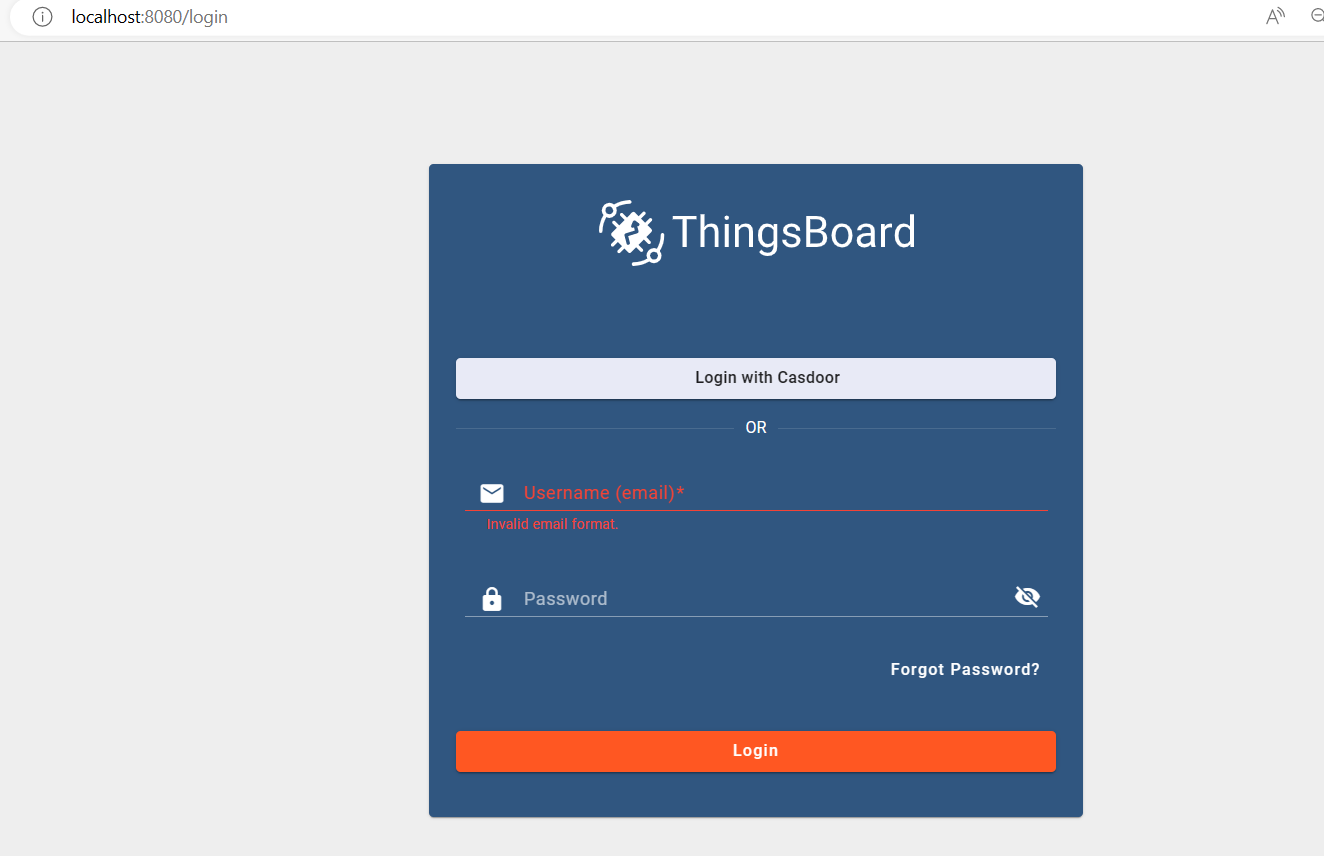
- Note the Client ID and Client secret for the following steps.
ステップ2: Casdoorにユーザーを追加する
Create a user and assign a role to the application.
Go to Users → Add user to open the new-user page.
Save the user after adding a username and selecting the organization "Thingsboard" (other details are optional).
Set a password via "Manage your password".
Choose a password for the user and confirm it.
Step 3: Prerequisites and Build Thingsboard App
First of all, Thingsboard only supports Java 11 (OpenJDK).
Download from:
To start Thingsboard, follow these steps (for Windows system):
- Download and extract the package. Download the package
- Configure Thingsboard in \thingsboard\conf\thingsboard.yml according to your preferences, including the configuration of Kafka, PostgreSQL, and others.
- Run
install.bat –loadDemoin the command line in the Thingsboard folder to install and add demo data.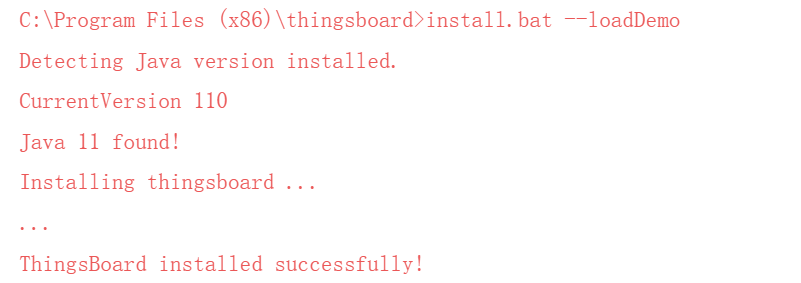
- Run
net start thingsboardin the command line to start Thingsboard. You should see the following output:
ステップ4: Casdoorを統合する
Now open http://localhost:8080/ and log in to the admin account:
Account: sysadmin@thingsboard.org / Password: sysadmin
After successfully logging in, click the OAuth2 button at the bottom left of the page.
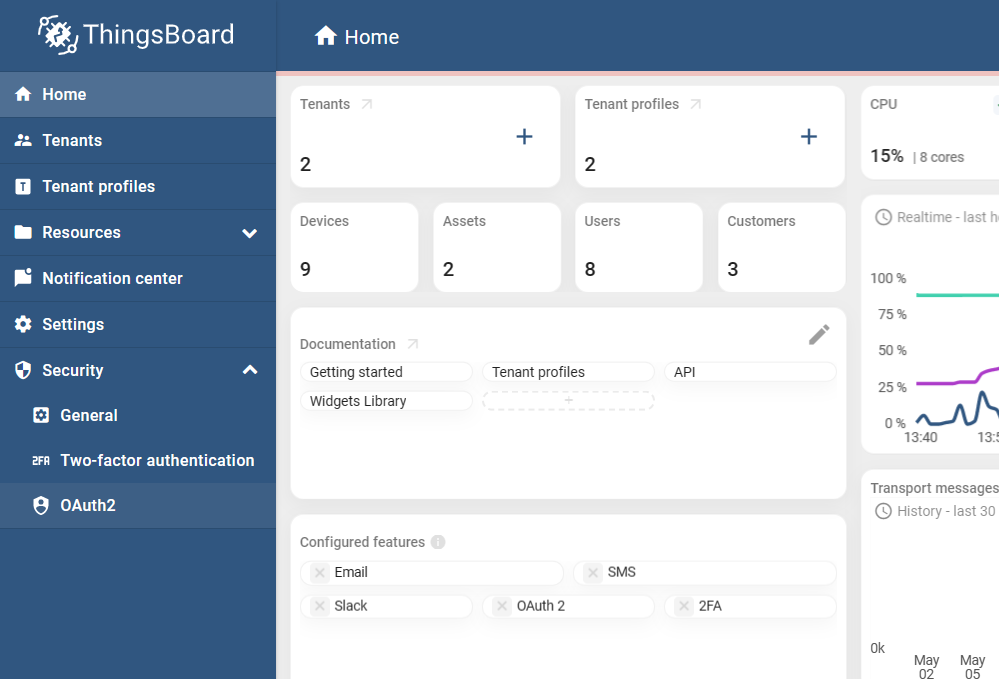
Fill in the blanks as follows:
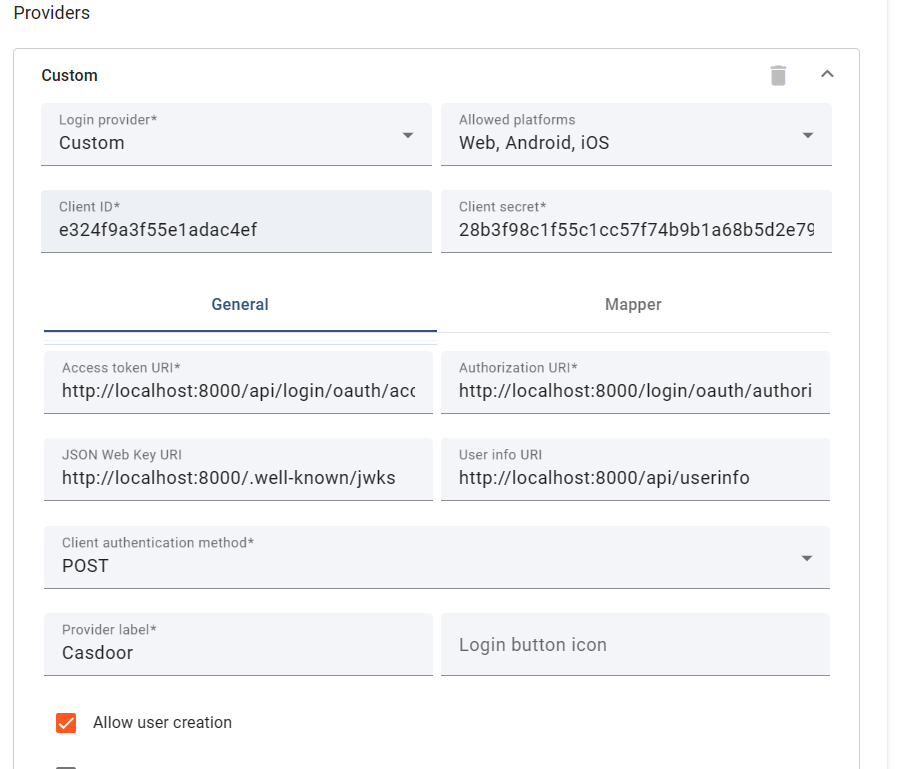
Obtain these values from: OIDC discovery URL 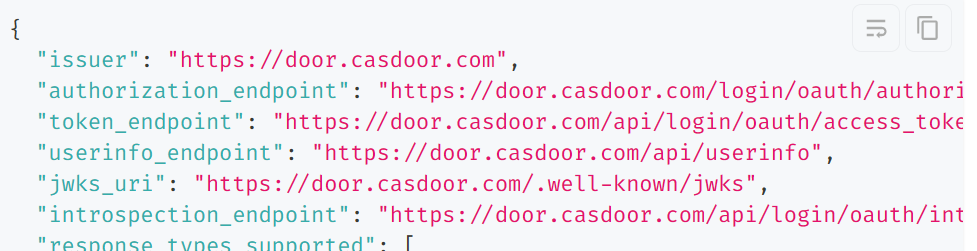
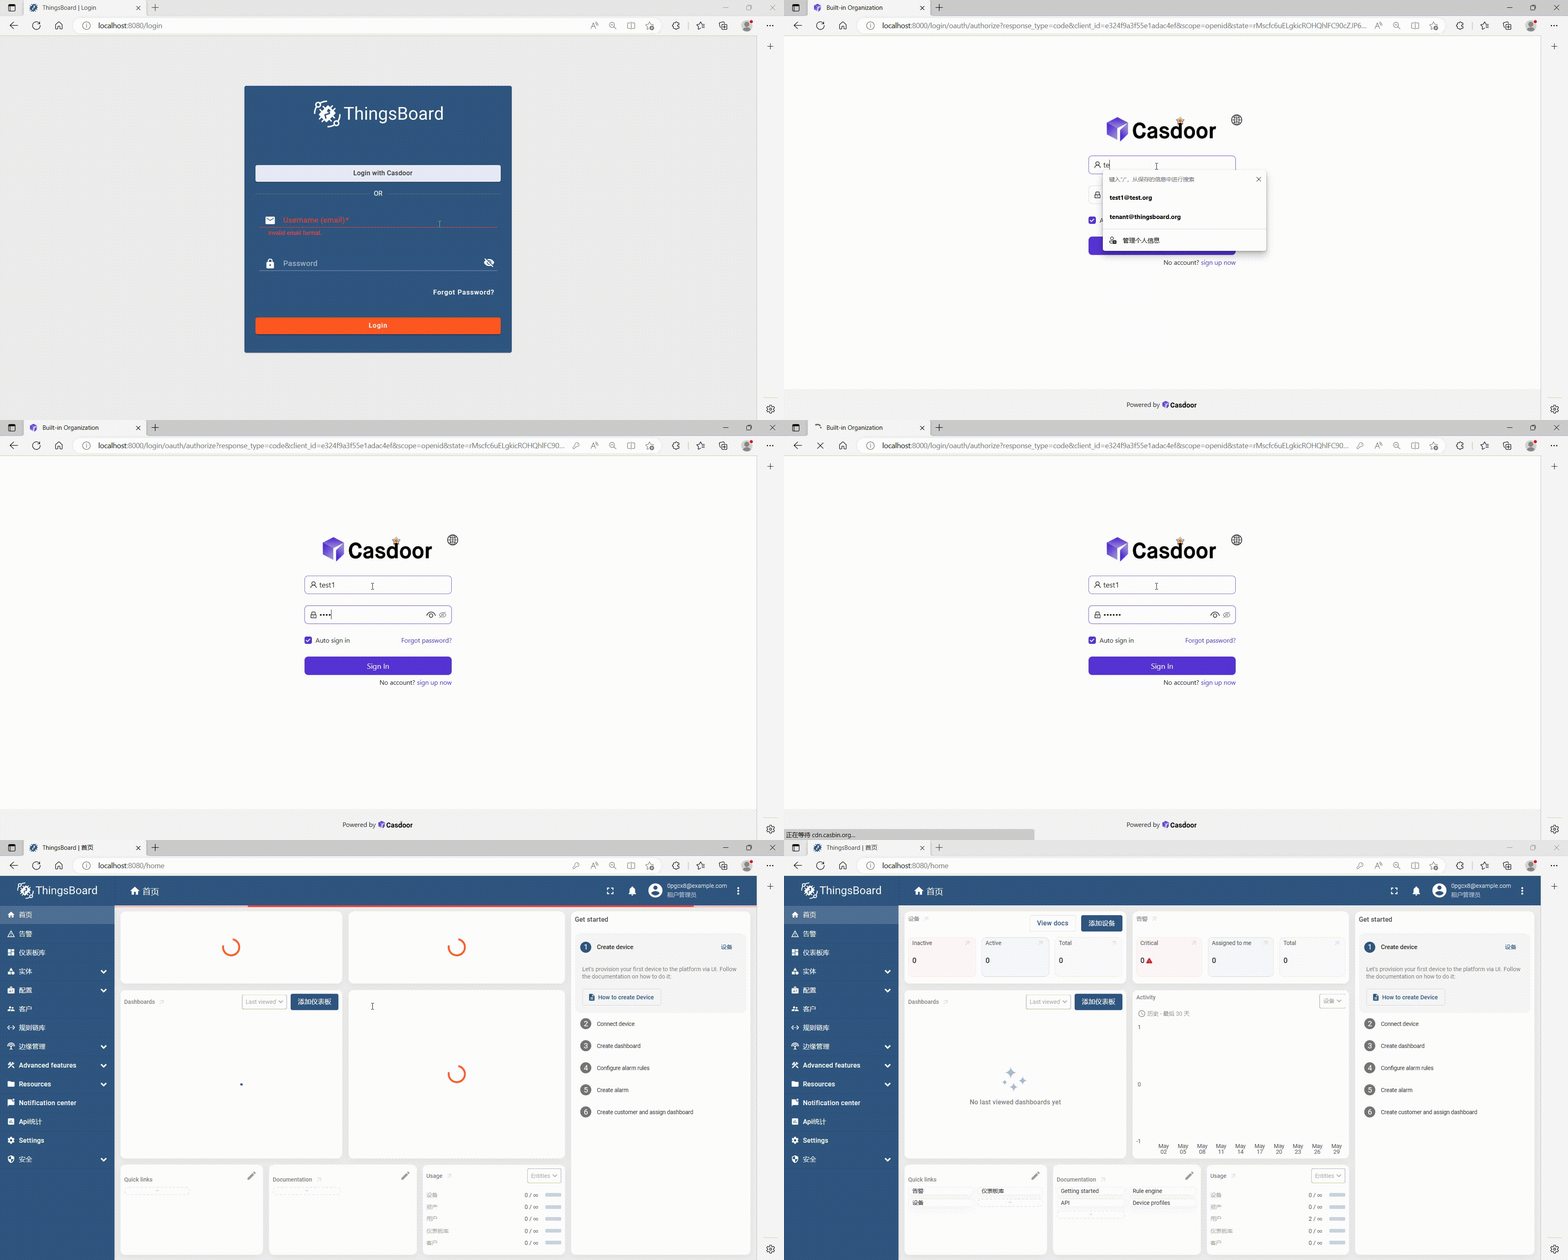
After filling in these blanks, you have successfully integrated Casdoor with Thingsboard. When you log in to http://localhost:8080/, you should see the following: