Login UI customization
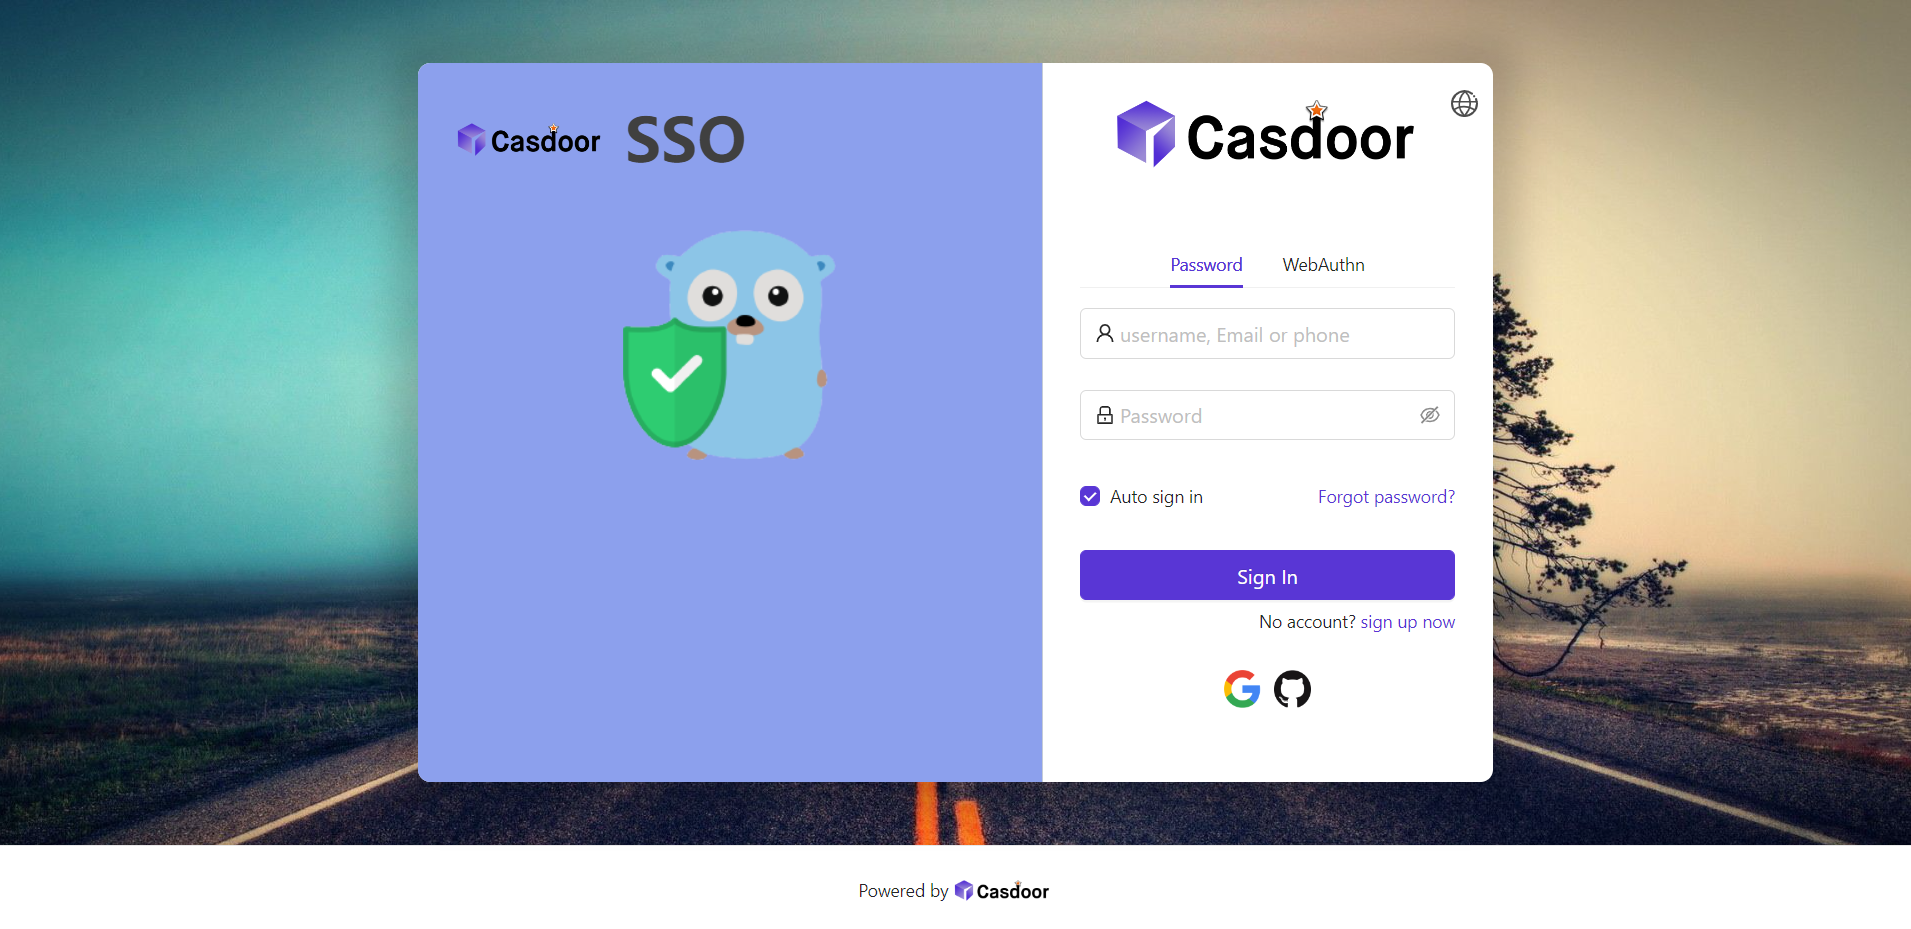
This guide walks through customizing your application’s sign-in page: background image, login panel style, position, and optional side panel.
1. Background image
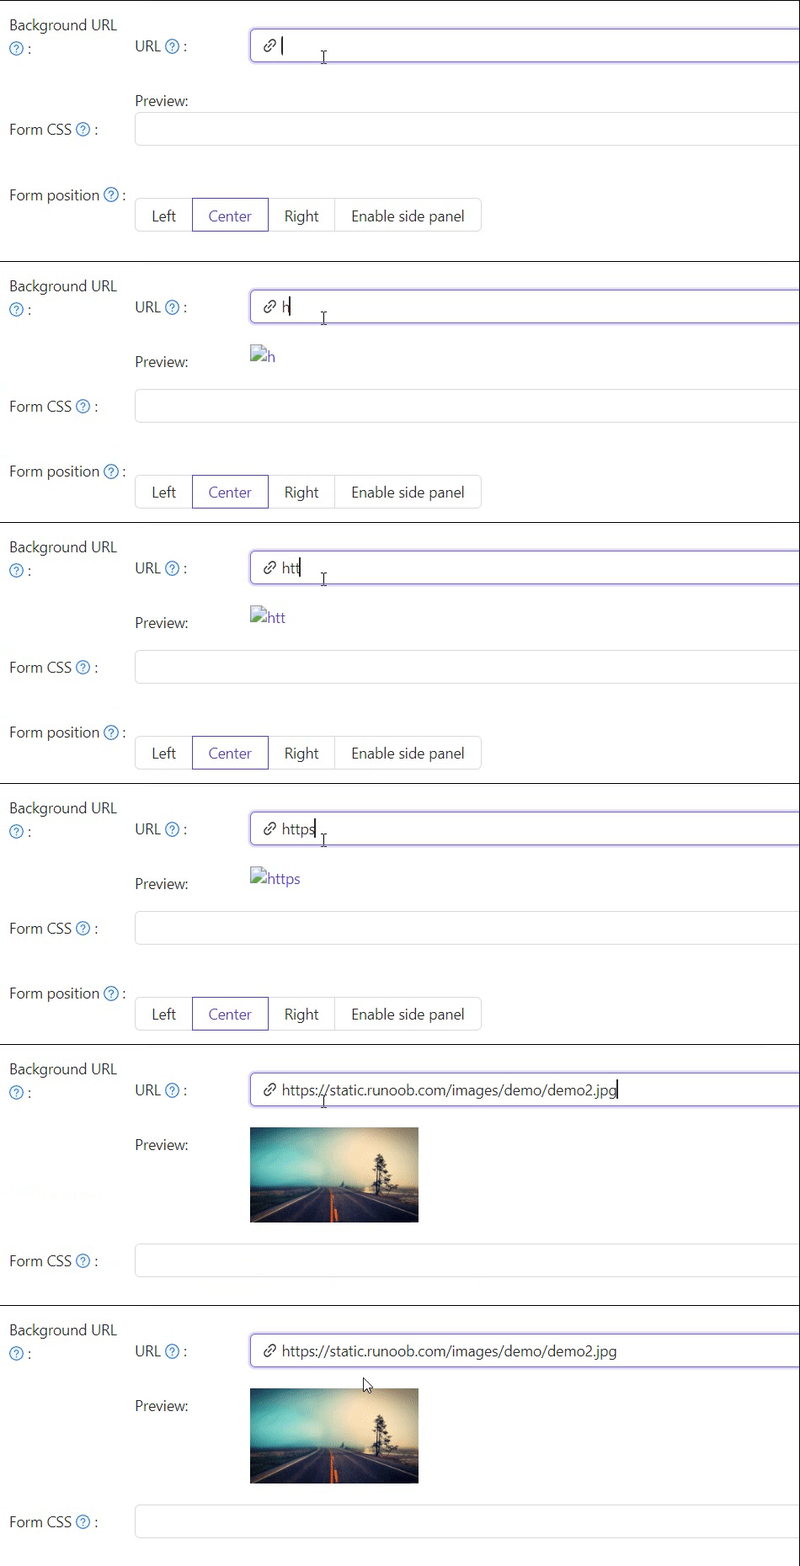
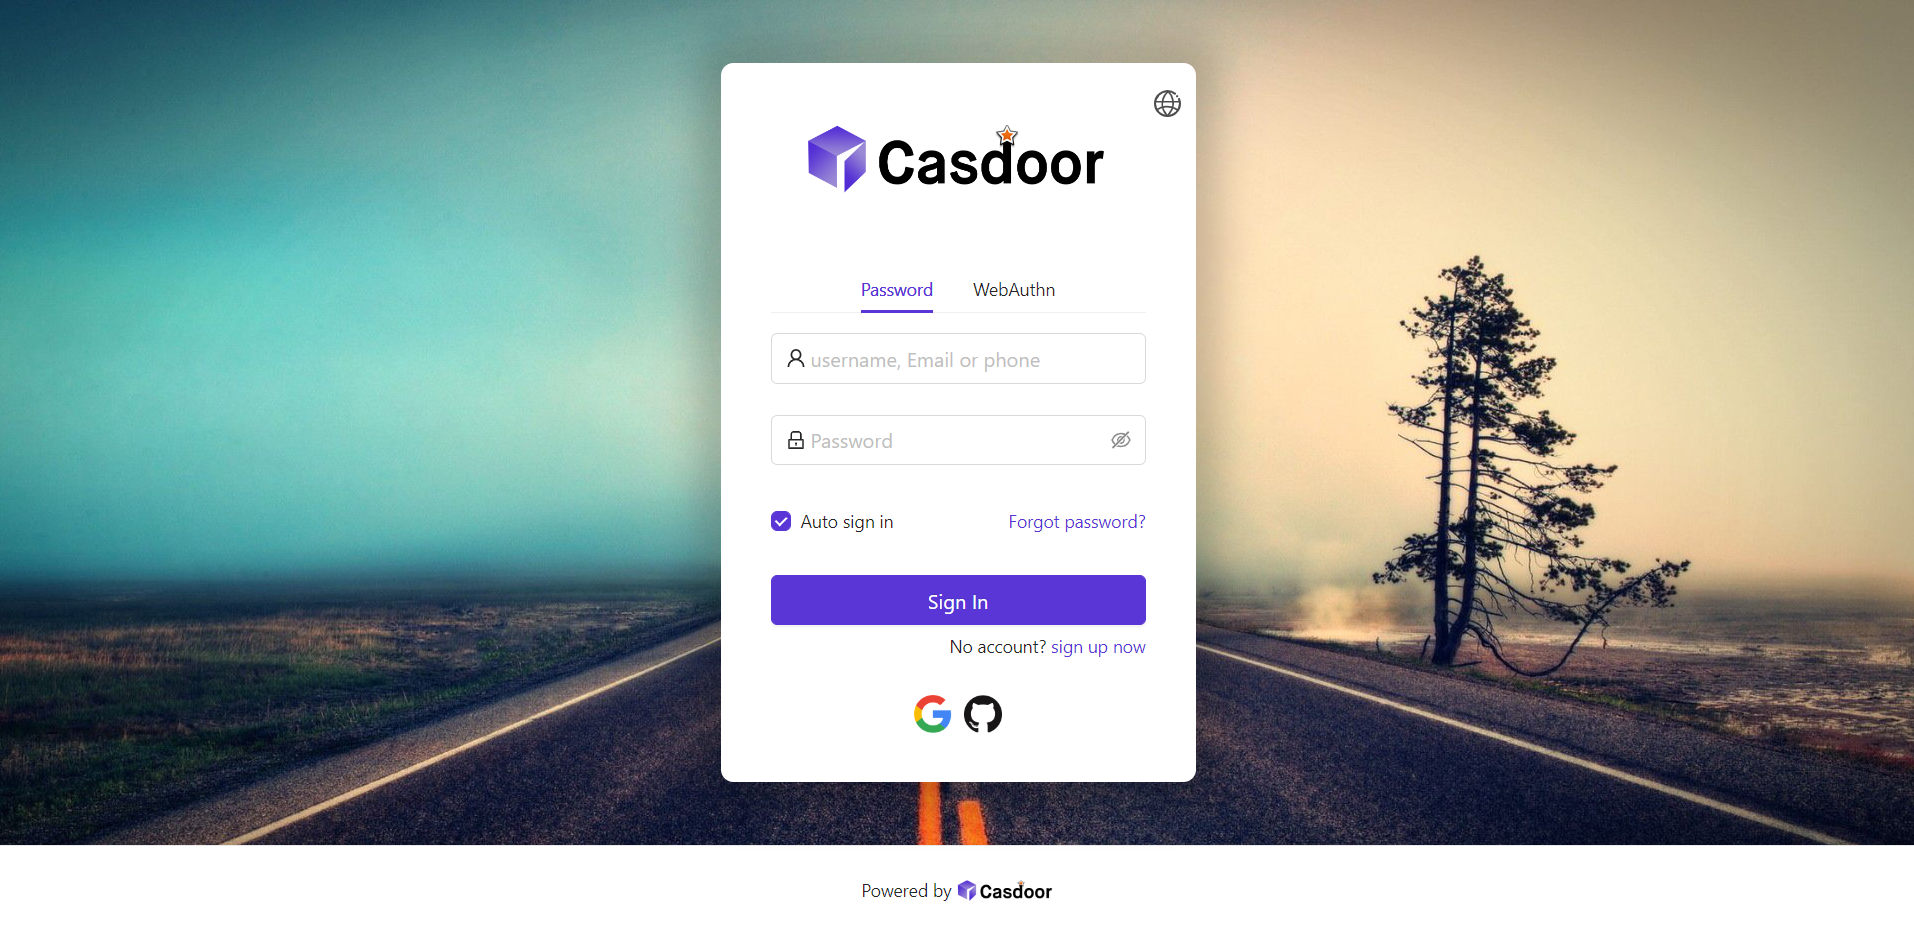
The default background is white. Set Background URL to an image URL; the preview updates when the URL is valid.
2. Login panel style
Use Form CSS to style the login panel. Enter raw CSS — Casdoor wraps the field in a <style> tag for you, so do not add a <style> wrapper yourself. Example:
.login-panel{
    padding: 40px 30px 0 30px;
    border-radius: 10px;
    background-color: #ffffff;
    box-shadow: 0 0 30px 20px rgba(0, 0, 0, 0.20);
}
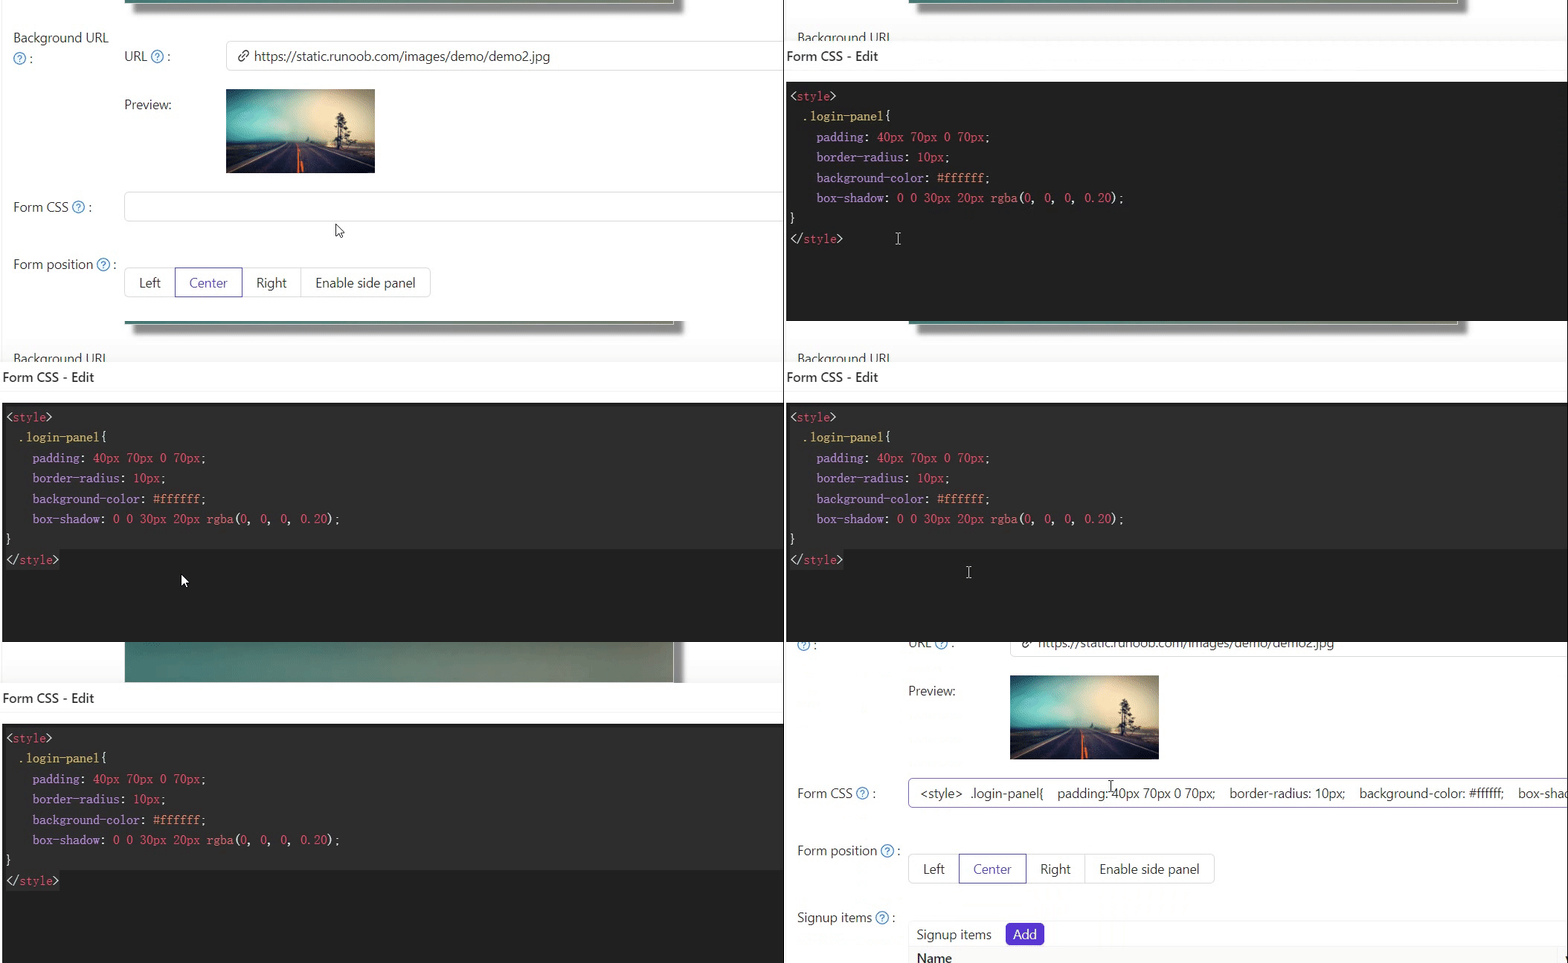
If Form CSS is empty, the editor may show a default; copy the content and paste it into the field, then save.
Enter plain CSS rules only. Casdoor renders Form CSS (and its mobile variant) inside a <style> tag automatically, so wrapping your rules in <style>...</style> would break them. This applies only to Form CSS; the Side panel HTML field below is still raw HTML and keeps its own <style> tag.
3. Panel position
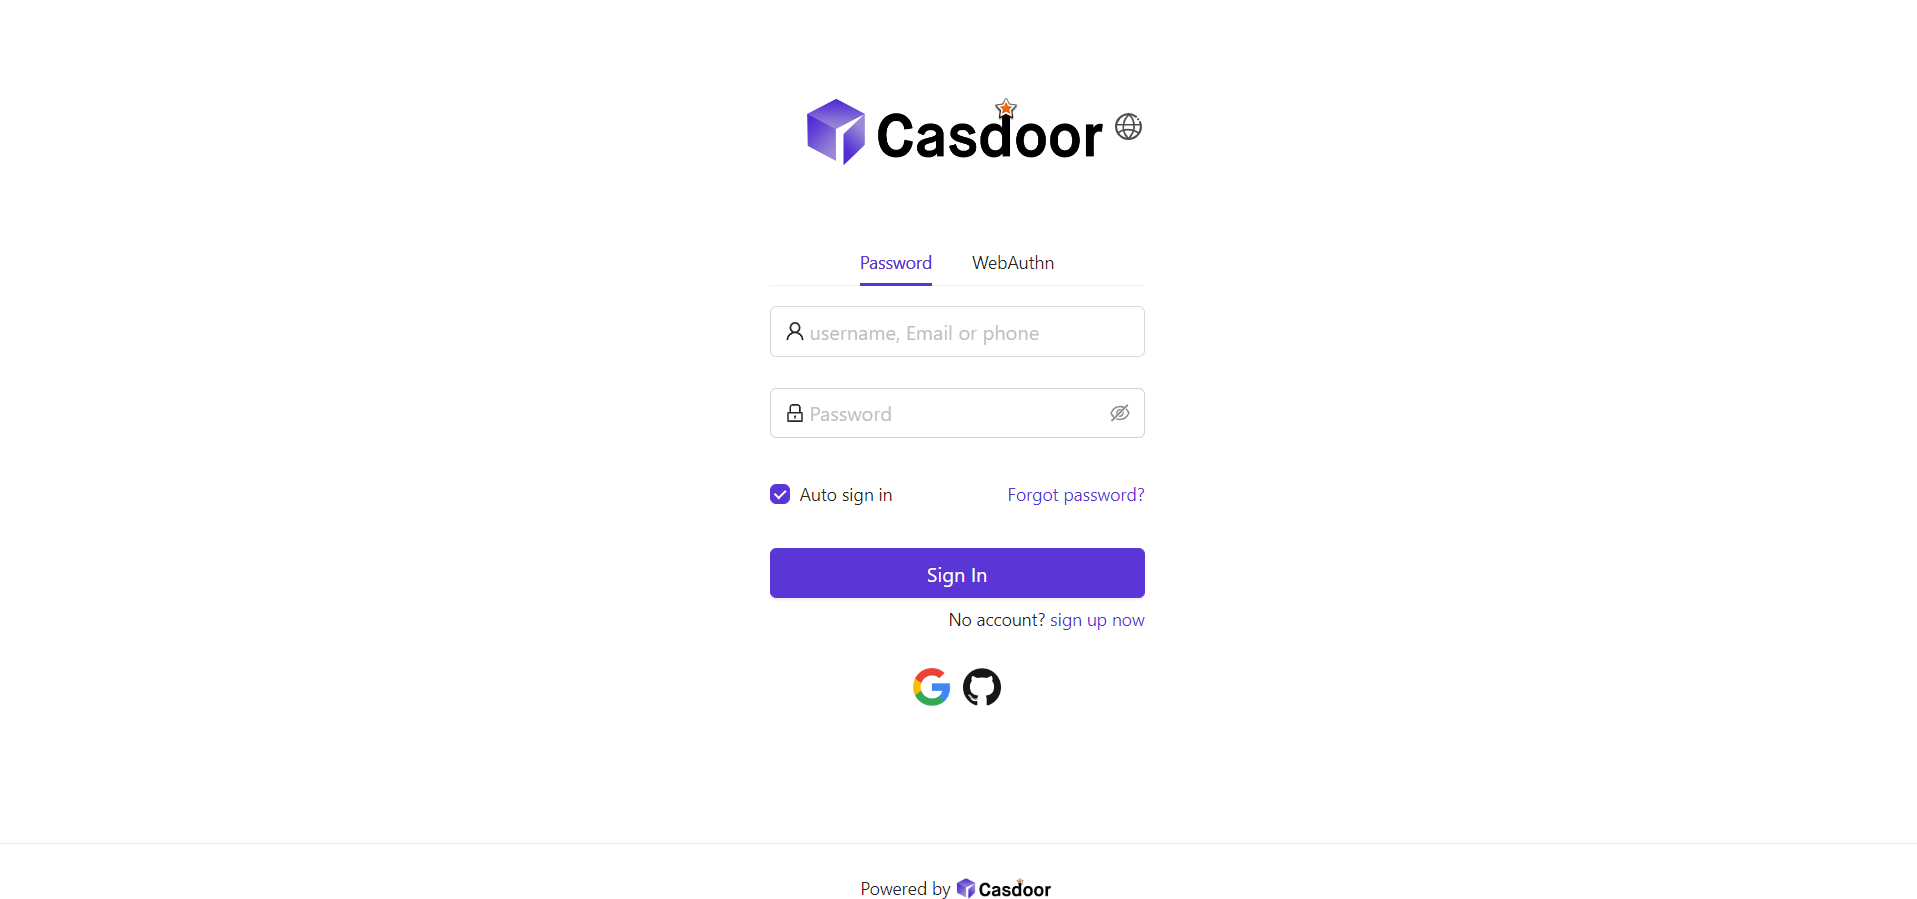
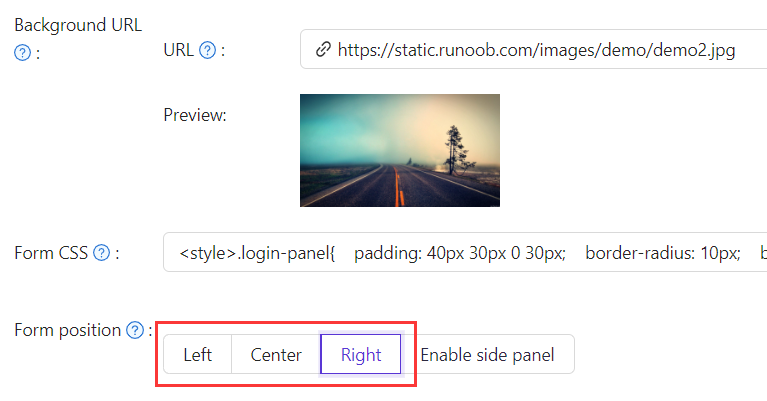
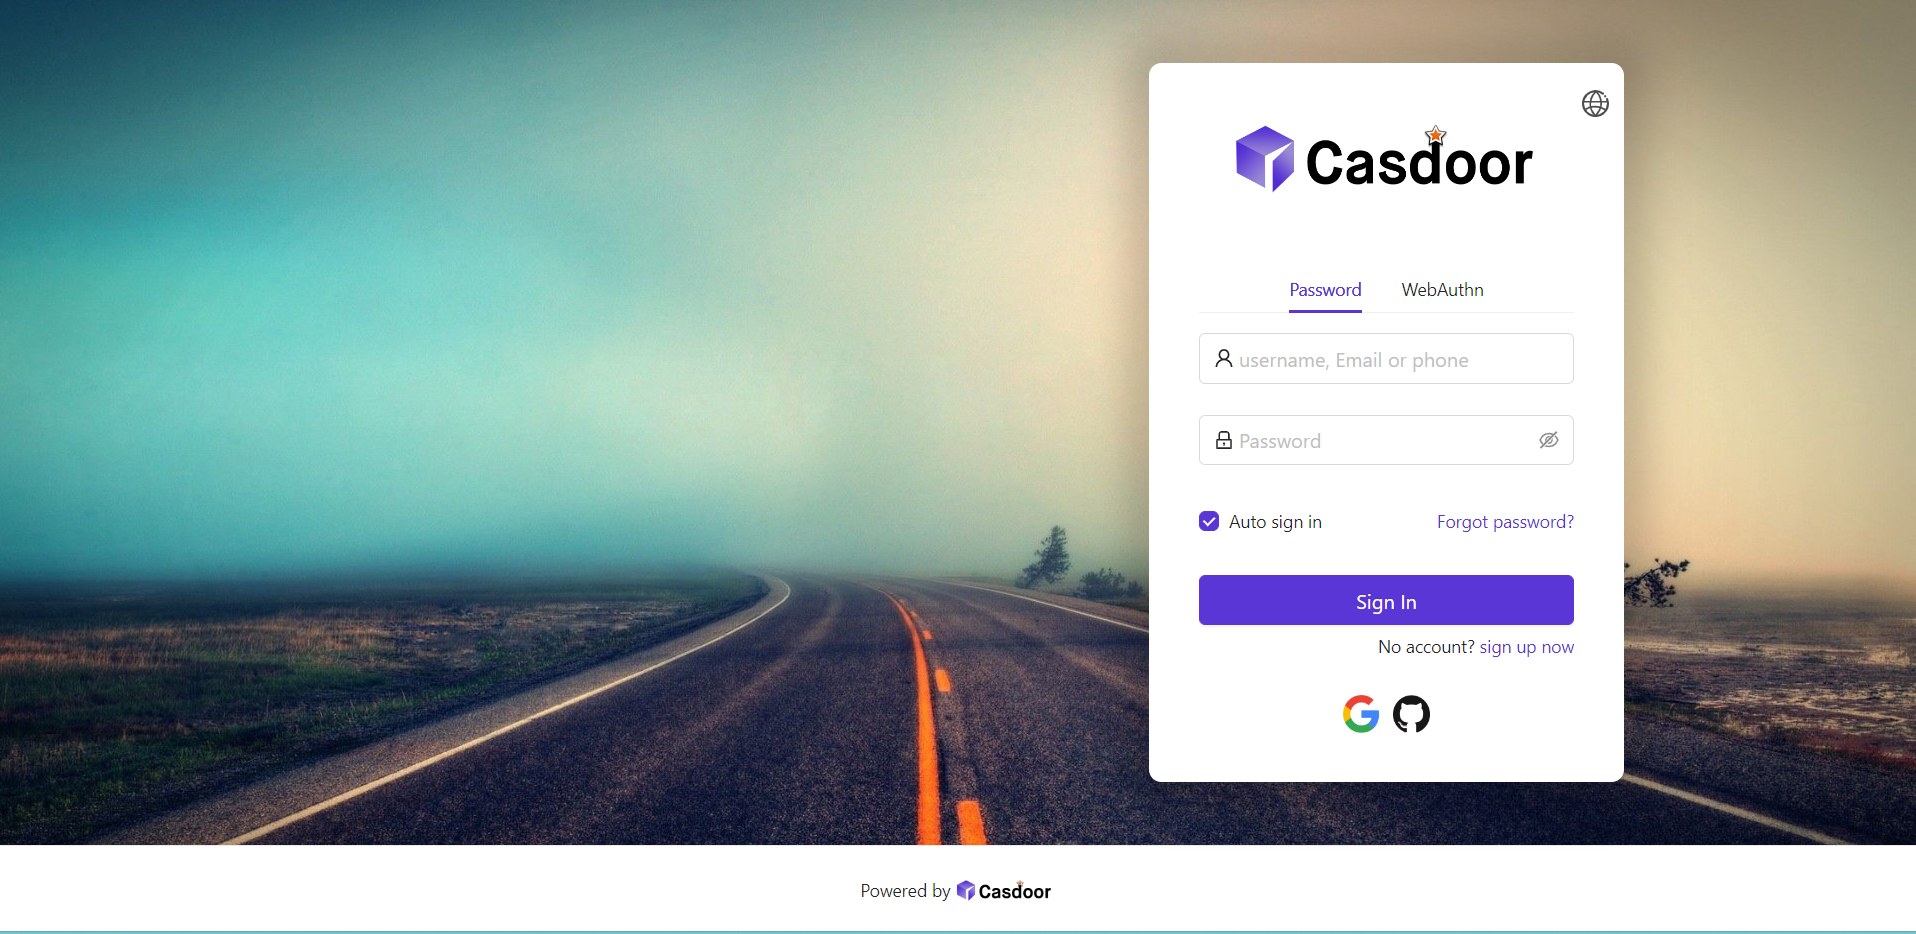
Use the position buttons to place the panel on the Left, Center, or Right.
4. Side panel
Enable Enable Side Panel so the form is centered with a side area. Edit Side panel HTML for the side content; start from the default template or customize it.

Example Side panel HTML:
<style>
  .left-model{
    text-align: center;
    padding: 30px;
    background-color: #8ca0ed;
    position: absolute;
    transform: none;
    width: 100%;
    height: 100%;
  }
  .side-logo{
    display: flex;
    align-items: center;
  }
  .side-logo span {
    font-family: Montserrat, sans-serif;
    font-weight: 900;
    font-size: 2.4rem;
    line-height: 1.3;
    margin-left: 16px;
    color: #404040;
  }
  .img{
    max-width: none;
    margin: 41px 0 13px;
  }
</style>
<div class="left-model">
  <span class="side-logo"> <img src="https://cdn.casbin.org/img/casdoor-logo_1185x256.png" alt="Casdoor" style="width: 120px">
    <span>SSO</span>
  </span>
  <div class="img">
    <img src="https://cdn.casbin.org/img/casbin.svg" alt="Casdoor"/>
  </div>
</div>
Refine the layout with Form CSS (e.g. .login-panel, .login-form). As above, enter raw CSS without a <style> wrapper:
.login-panel{
  border-radius: 10px;
  background-color: #ffffff;
  box-shadow: 0 0 30px 20px rgba(0, 0, 0, 0.20);
}
.login-form {
  padding: 30px;
}
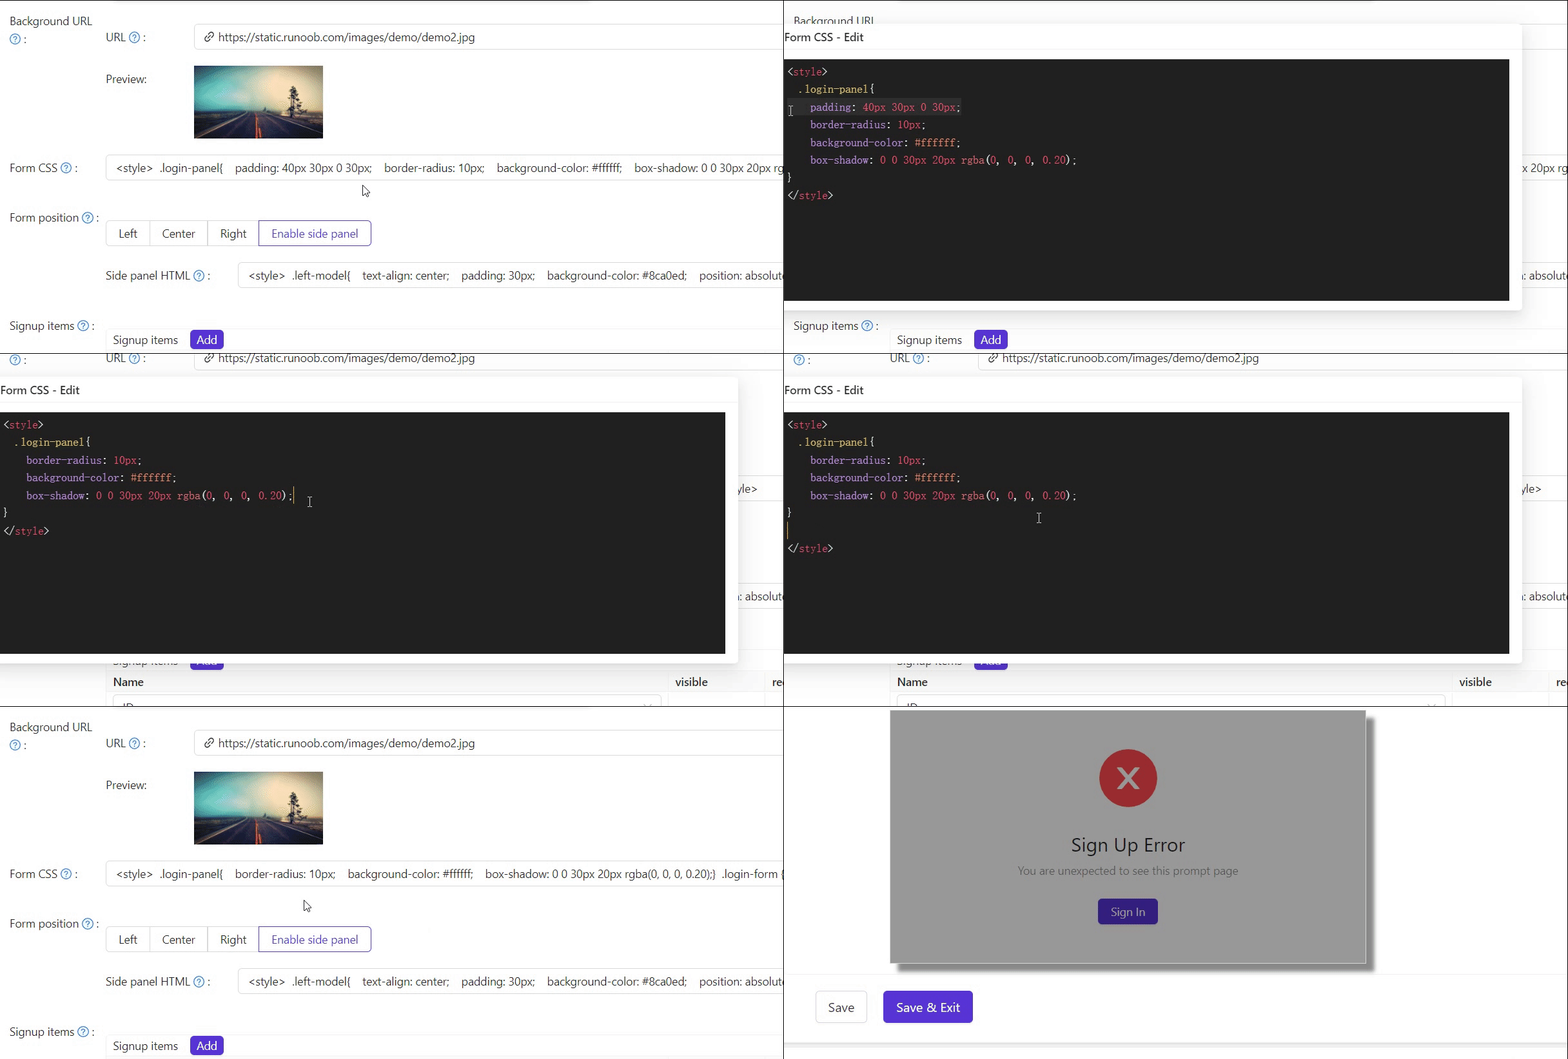
.login-panel and .login-form are the main container classes; target them in Form CSS for further customization.
Export and import the UI customization
Once you have styled an application, you can move its look-and-feel to the same application on another Casdoor instance (for example from a staging to a production deployment) using the Export JSON and Import JSON buttons at the bottom of the application edit page. They appear only when editing an existing application, not when adding a new one.
Only the login-UI and theme customization fields are transferred — Logo, Favicon, Background URL (and its mobile variant), Form CSS (and its mobile variant), panel position/offset, Side panel HTML, theme data, and the header, footer, sign-up, and sign-in HTML snippets. Secrets, providers, and other application settings are not included.
- Export JSON copies a JSON document with these fields (plus the application's
nameandorganization) to your clipboard. - Import JSON opens a dialog where you paste that JSON. Click OK to apply the fields to the form, then Save to persist the change.
The name and organization in the pasted JSON must match the application you are importing into, otherwise the import is rejected. This is why import targets the same application across instances rather than copying a design into a different application.
Summary
Set Background URL, style Form CSS, choose panel position, and optionally enable and style Side panel HTML. Reuse a finished design on another instance with Export JSON / Import JSON. See also:
- Customize theme — primary color and border radius
- Sign-up items table
- Application config