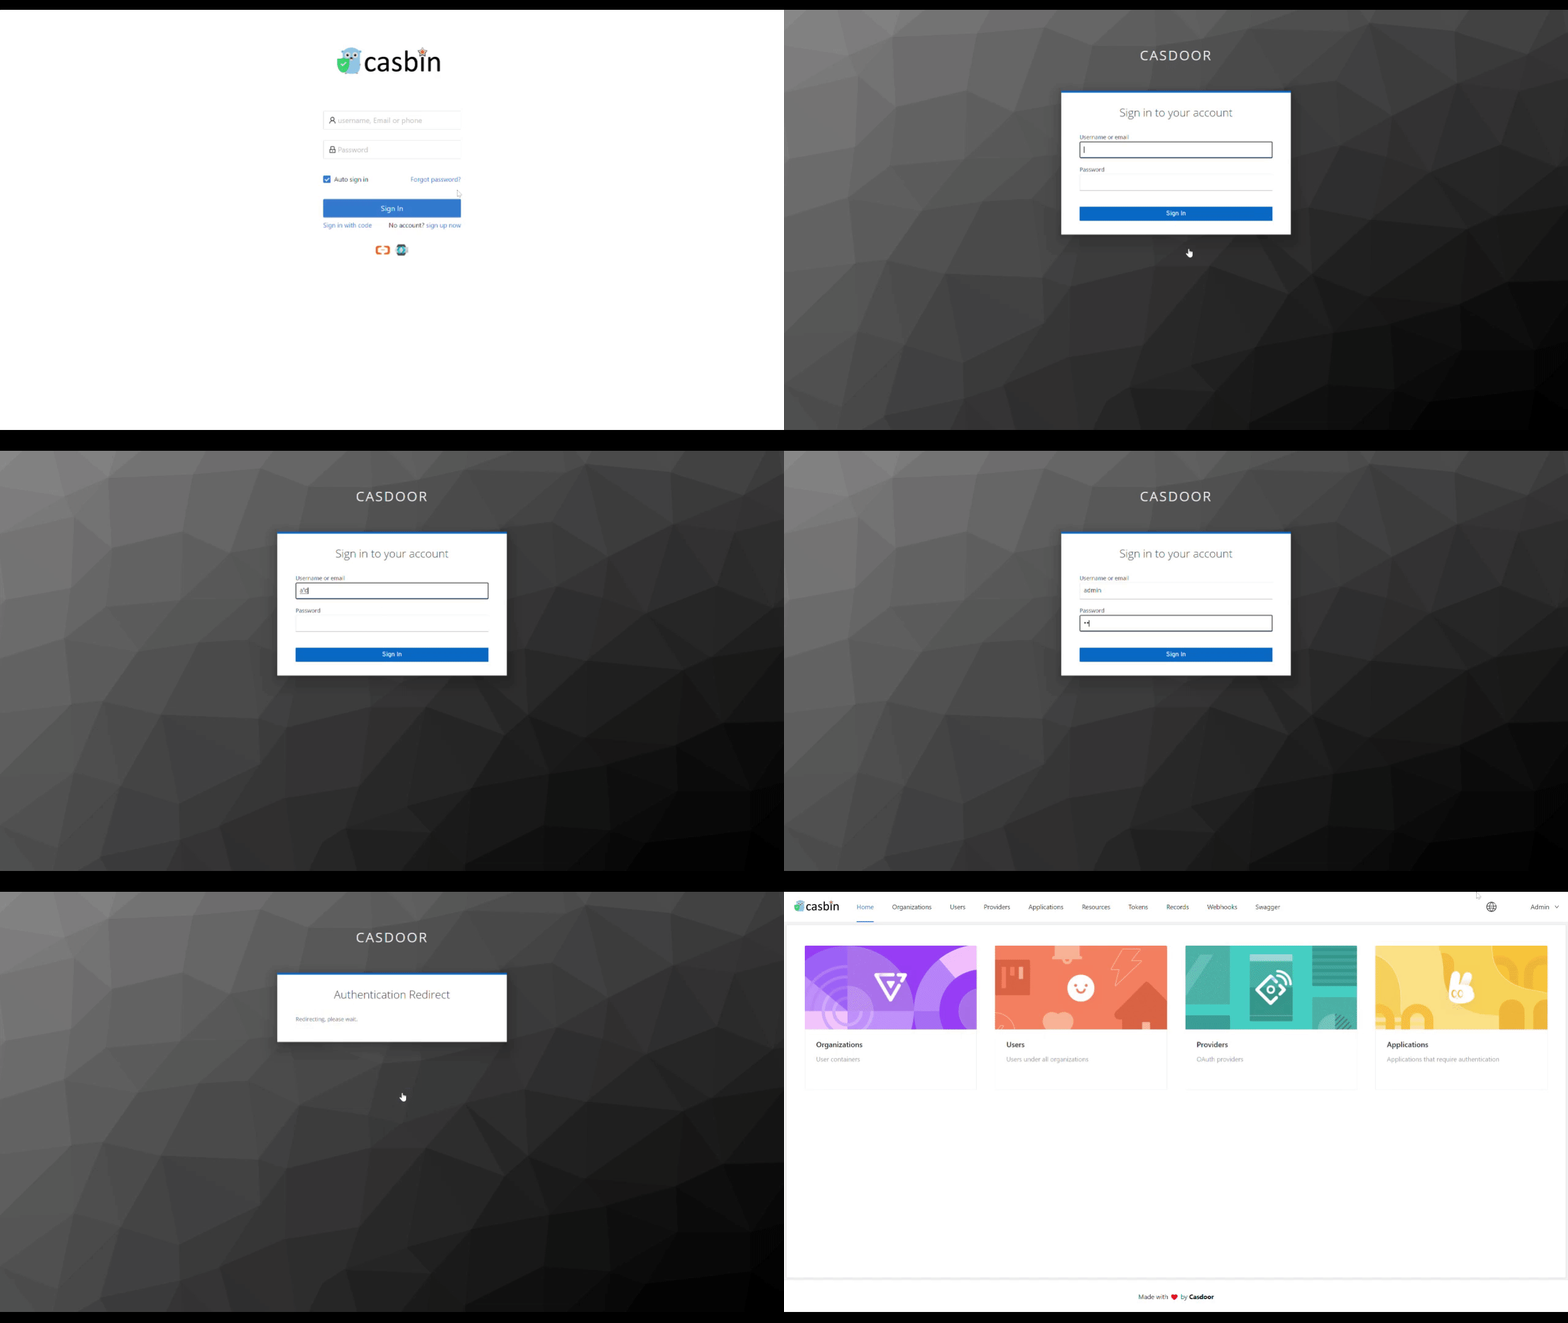
Add Keycloak as a SAML provider
This guide explains how to let the users of a Keycloak realm sign in to Casdoor through SAML. Keycloak is an open-source IdP that supports SAML and OpenID Connect and can broker LDAP and other identity providers.
Learning outcomes
- Create a SAML client for Casdoor in Keycloak.
- Add Keycloak as a SAML provider in Casdoor.
- Sign the authentication request, if Keycloak requires it.
What you need
- Administrator access to a Keycloak server
- Administrator access to the Casdoor admin console
The examples assume the following addresses. Adjust them for your deployment.
| Component | Address |
|---|---|
| Casdoor UI | http://localhost:7001 |
| Casdoor API | http://localhost:8000 |
| Keycloak | http://localhost:8080/auth |
| SP ACS URL and entity ID | http://localhost:8000/api/acs |
Prepare a realm
Use the default realm or create one.
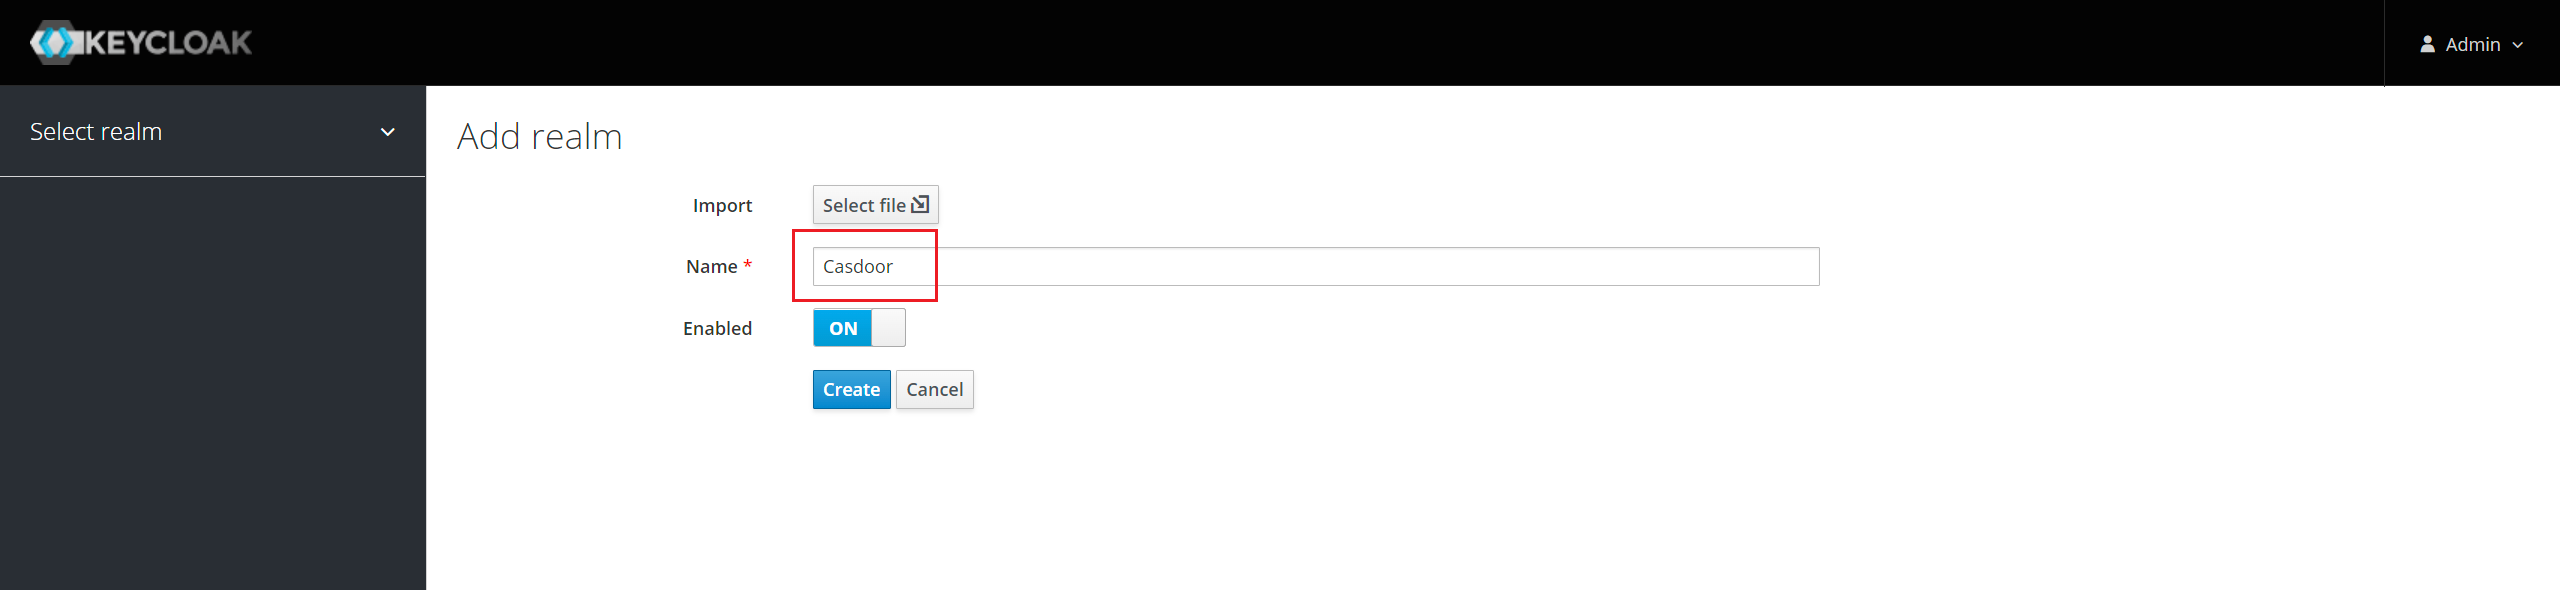
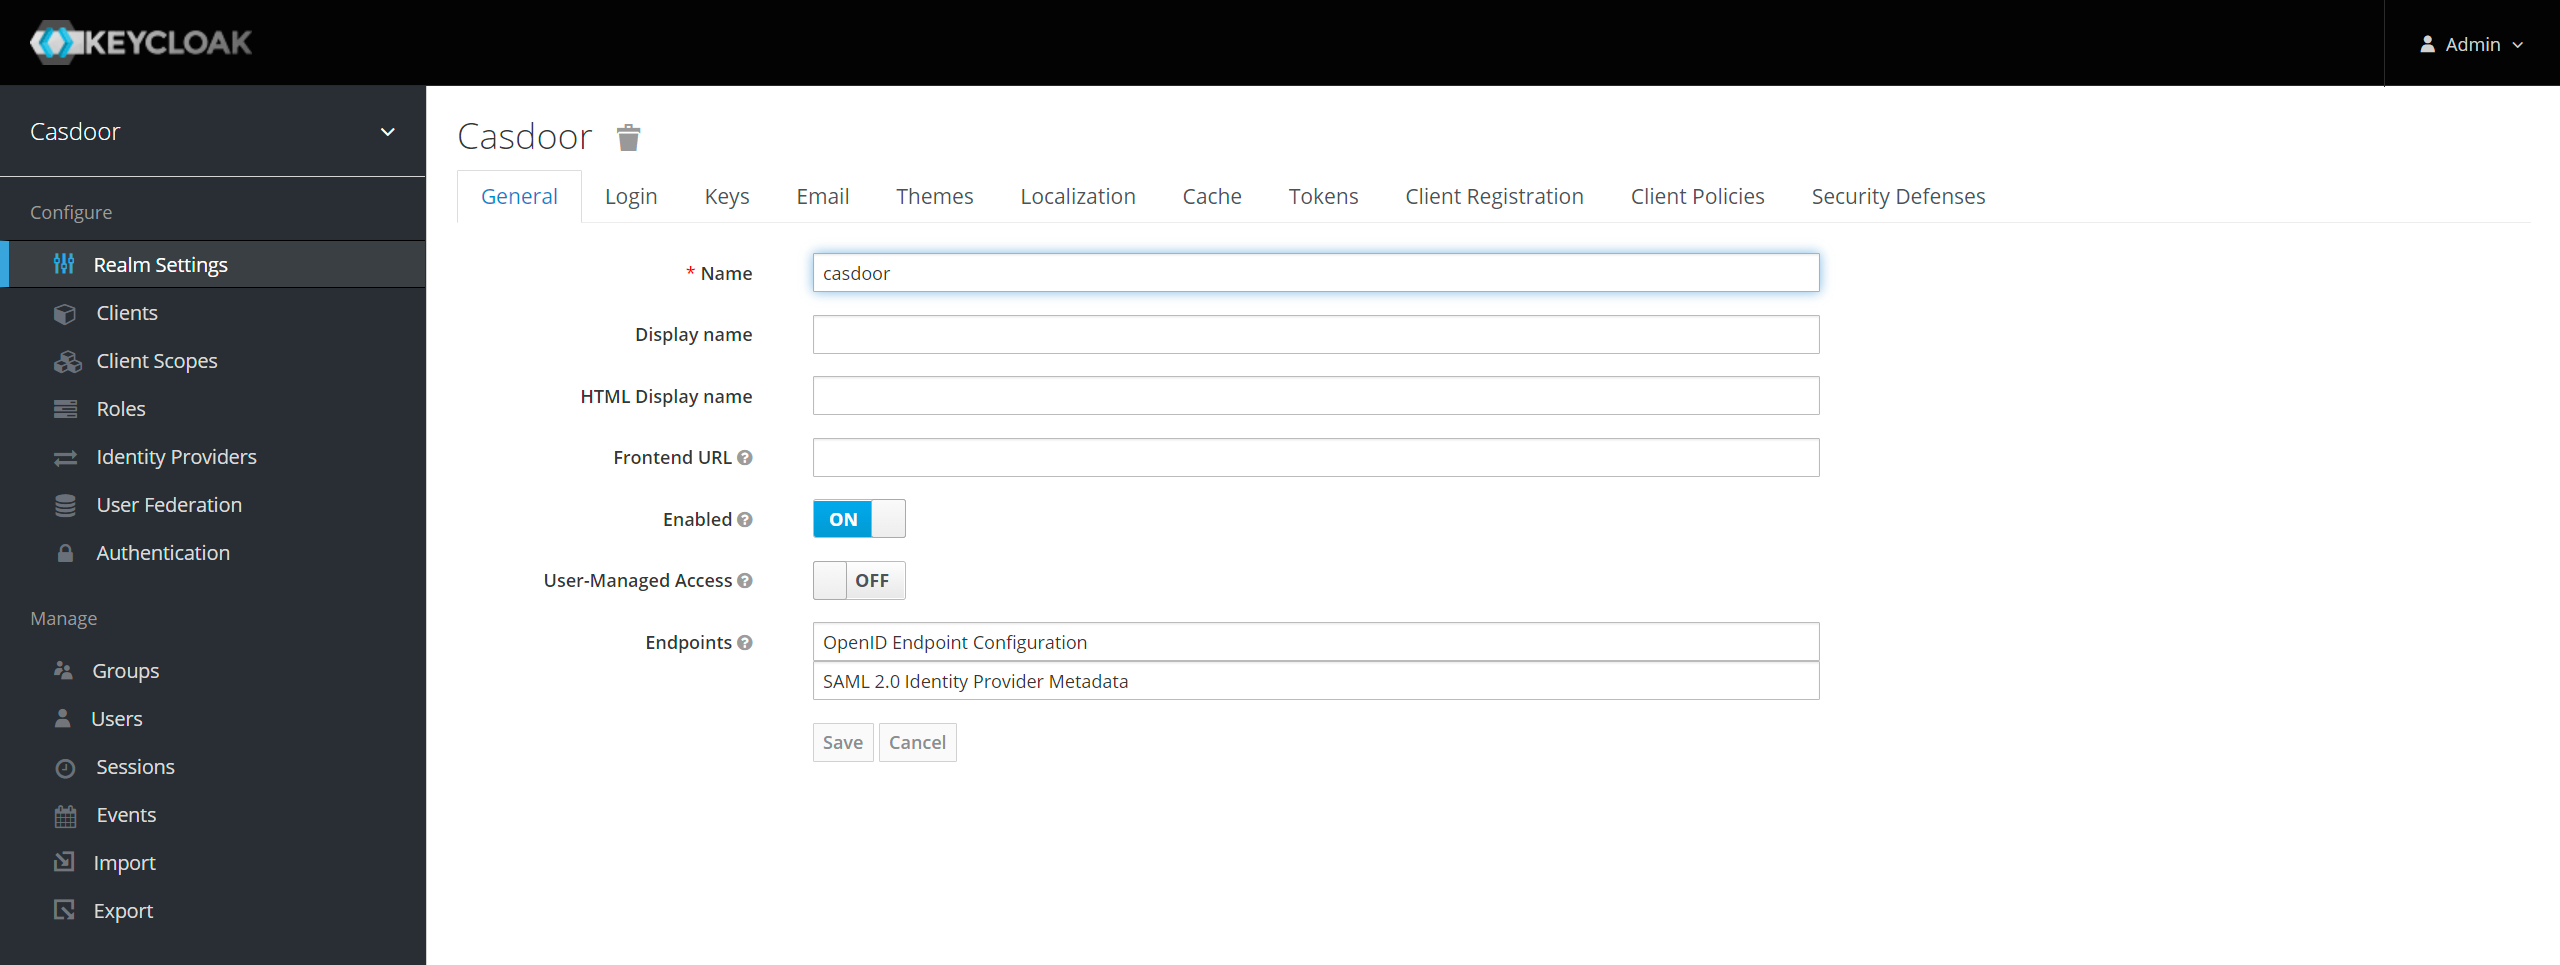
Create a SAML client in Keycloak
For all client settings, see SAML clients in the Keycloak documentation.
-
Go to Clients and click Create. Fill in the Add Client page:
Field Value Client ID http://localhost:8000/api/acs. This is the SP entity ID of CasdoorClient Protocol samlClient SAML Endpoint http://localhost:8000/api/acs, where Keycloak sends SAML requests and responses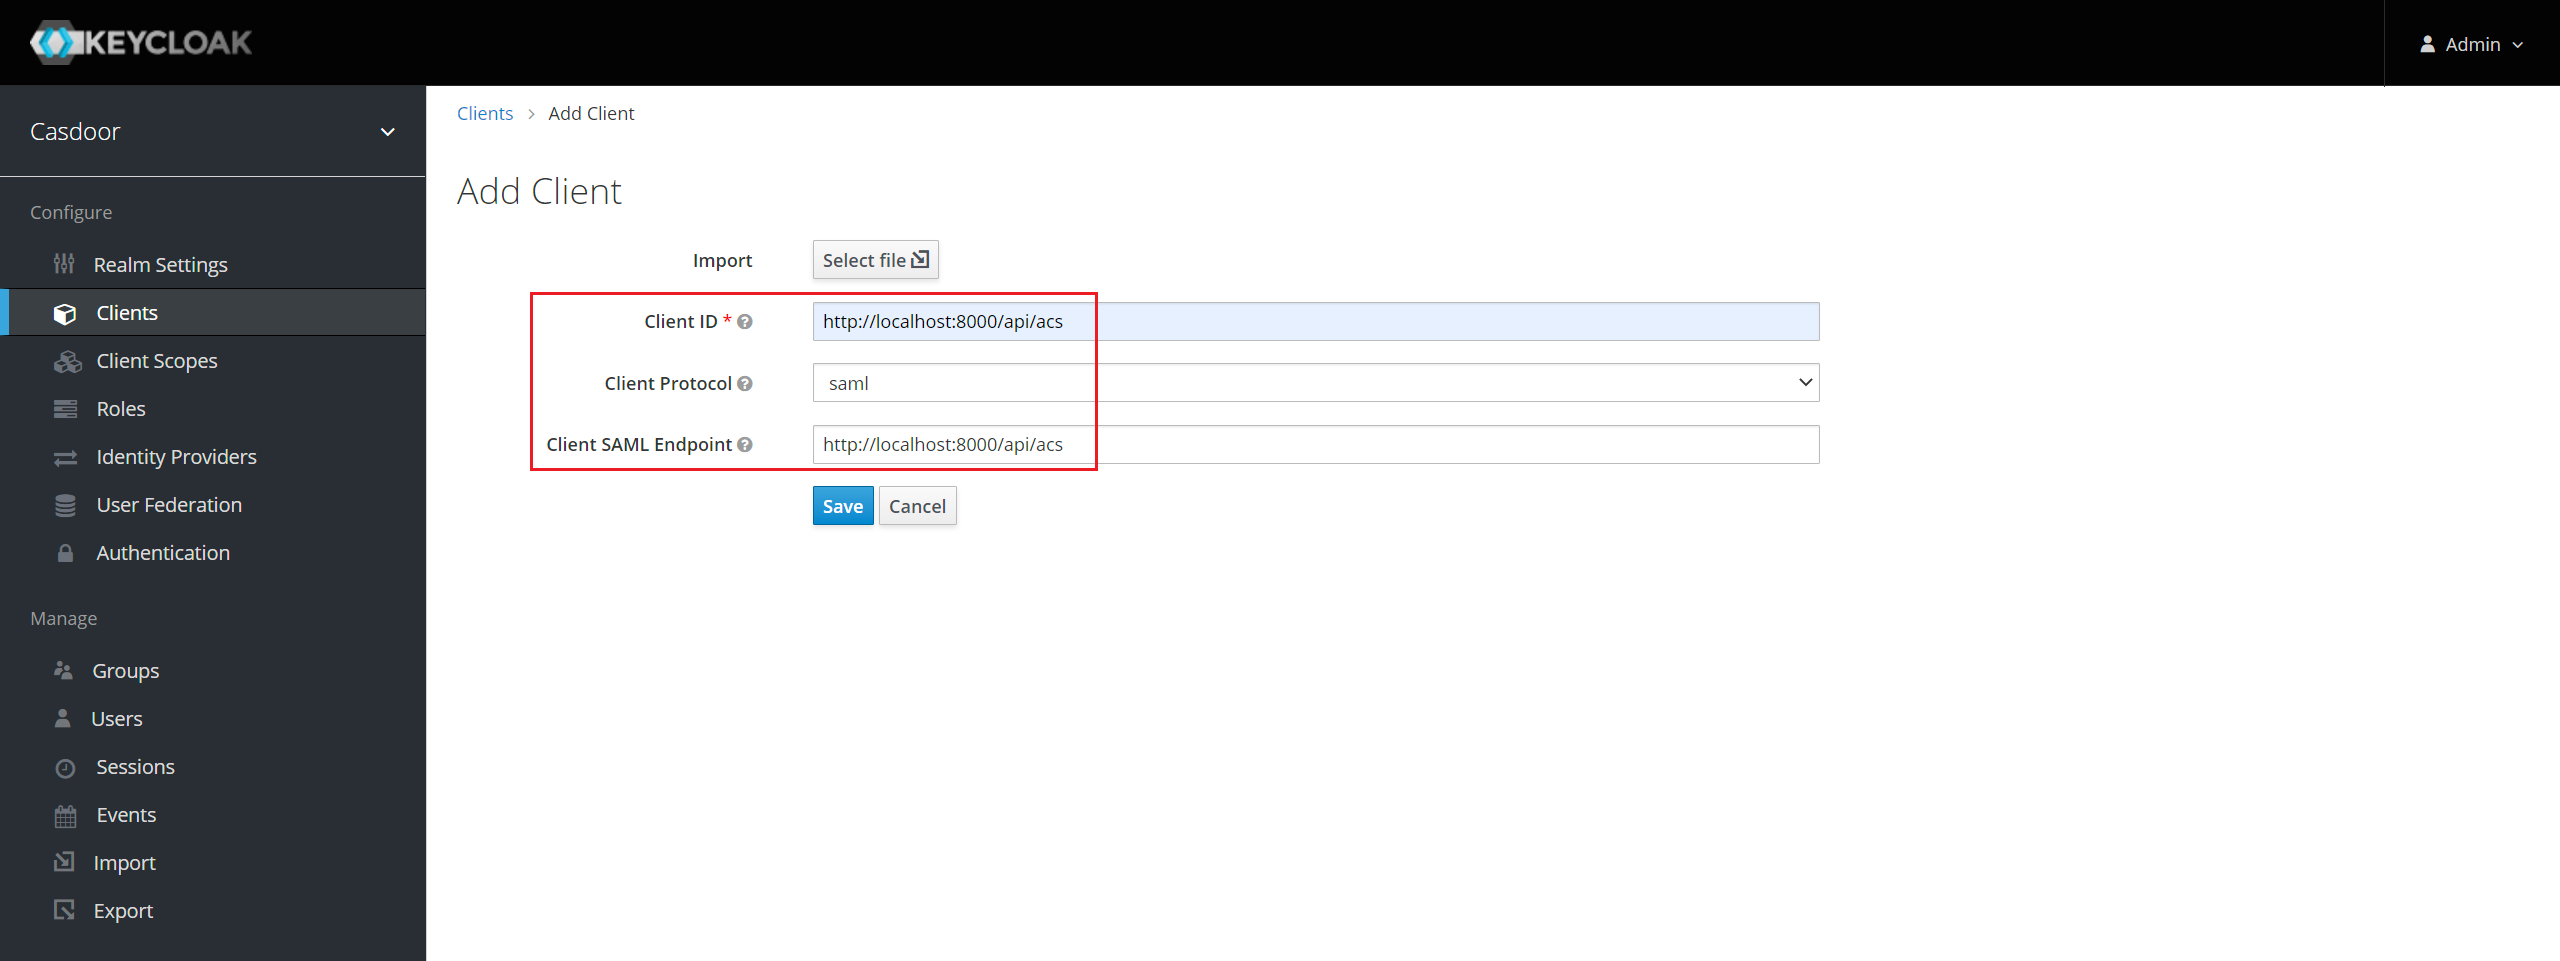
-
Clique em Salvar. The Settings tab opens.
-
Set the following values and save:
Setting Value Name A friendly name, such as CasdoorEnabled On Include Authn Statement On Sign Documents On Sign Assertions Off Encrypt Assertions Off Client Signature Required Off. See Sign the authentication request Force Name ID Format On Name ID Format usernameValid Redirect URIs http://localhost:8000/api/acsMaster SAML Processing URL http://localhost:8000/api/acsAssertion Consumer Service POST Binding URL http://localhost:8000/api/acs, under Fine Grain SAML Endpoint ConfigurationAssertion Consumer Service Redirect Binding URL http://localhost:8000/api/acs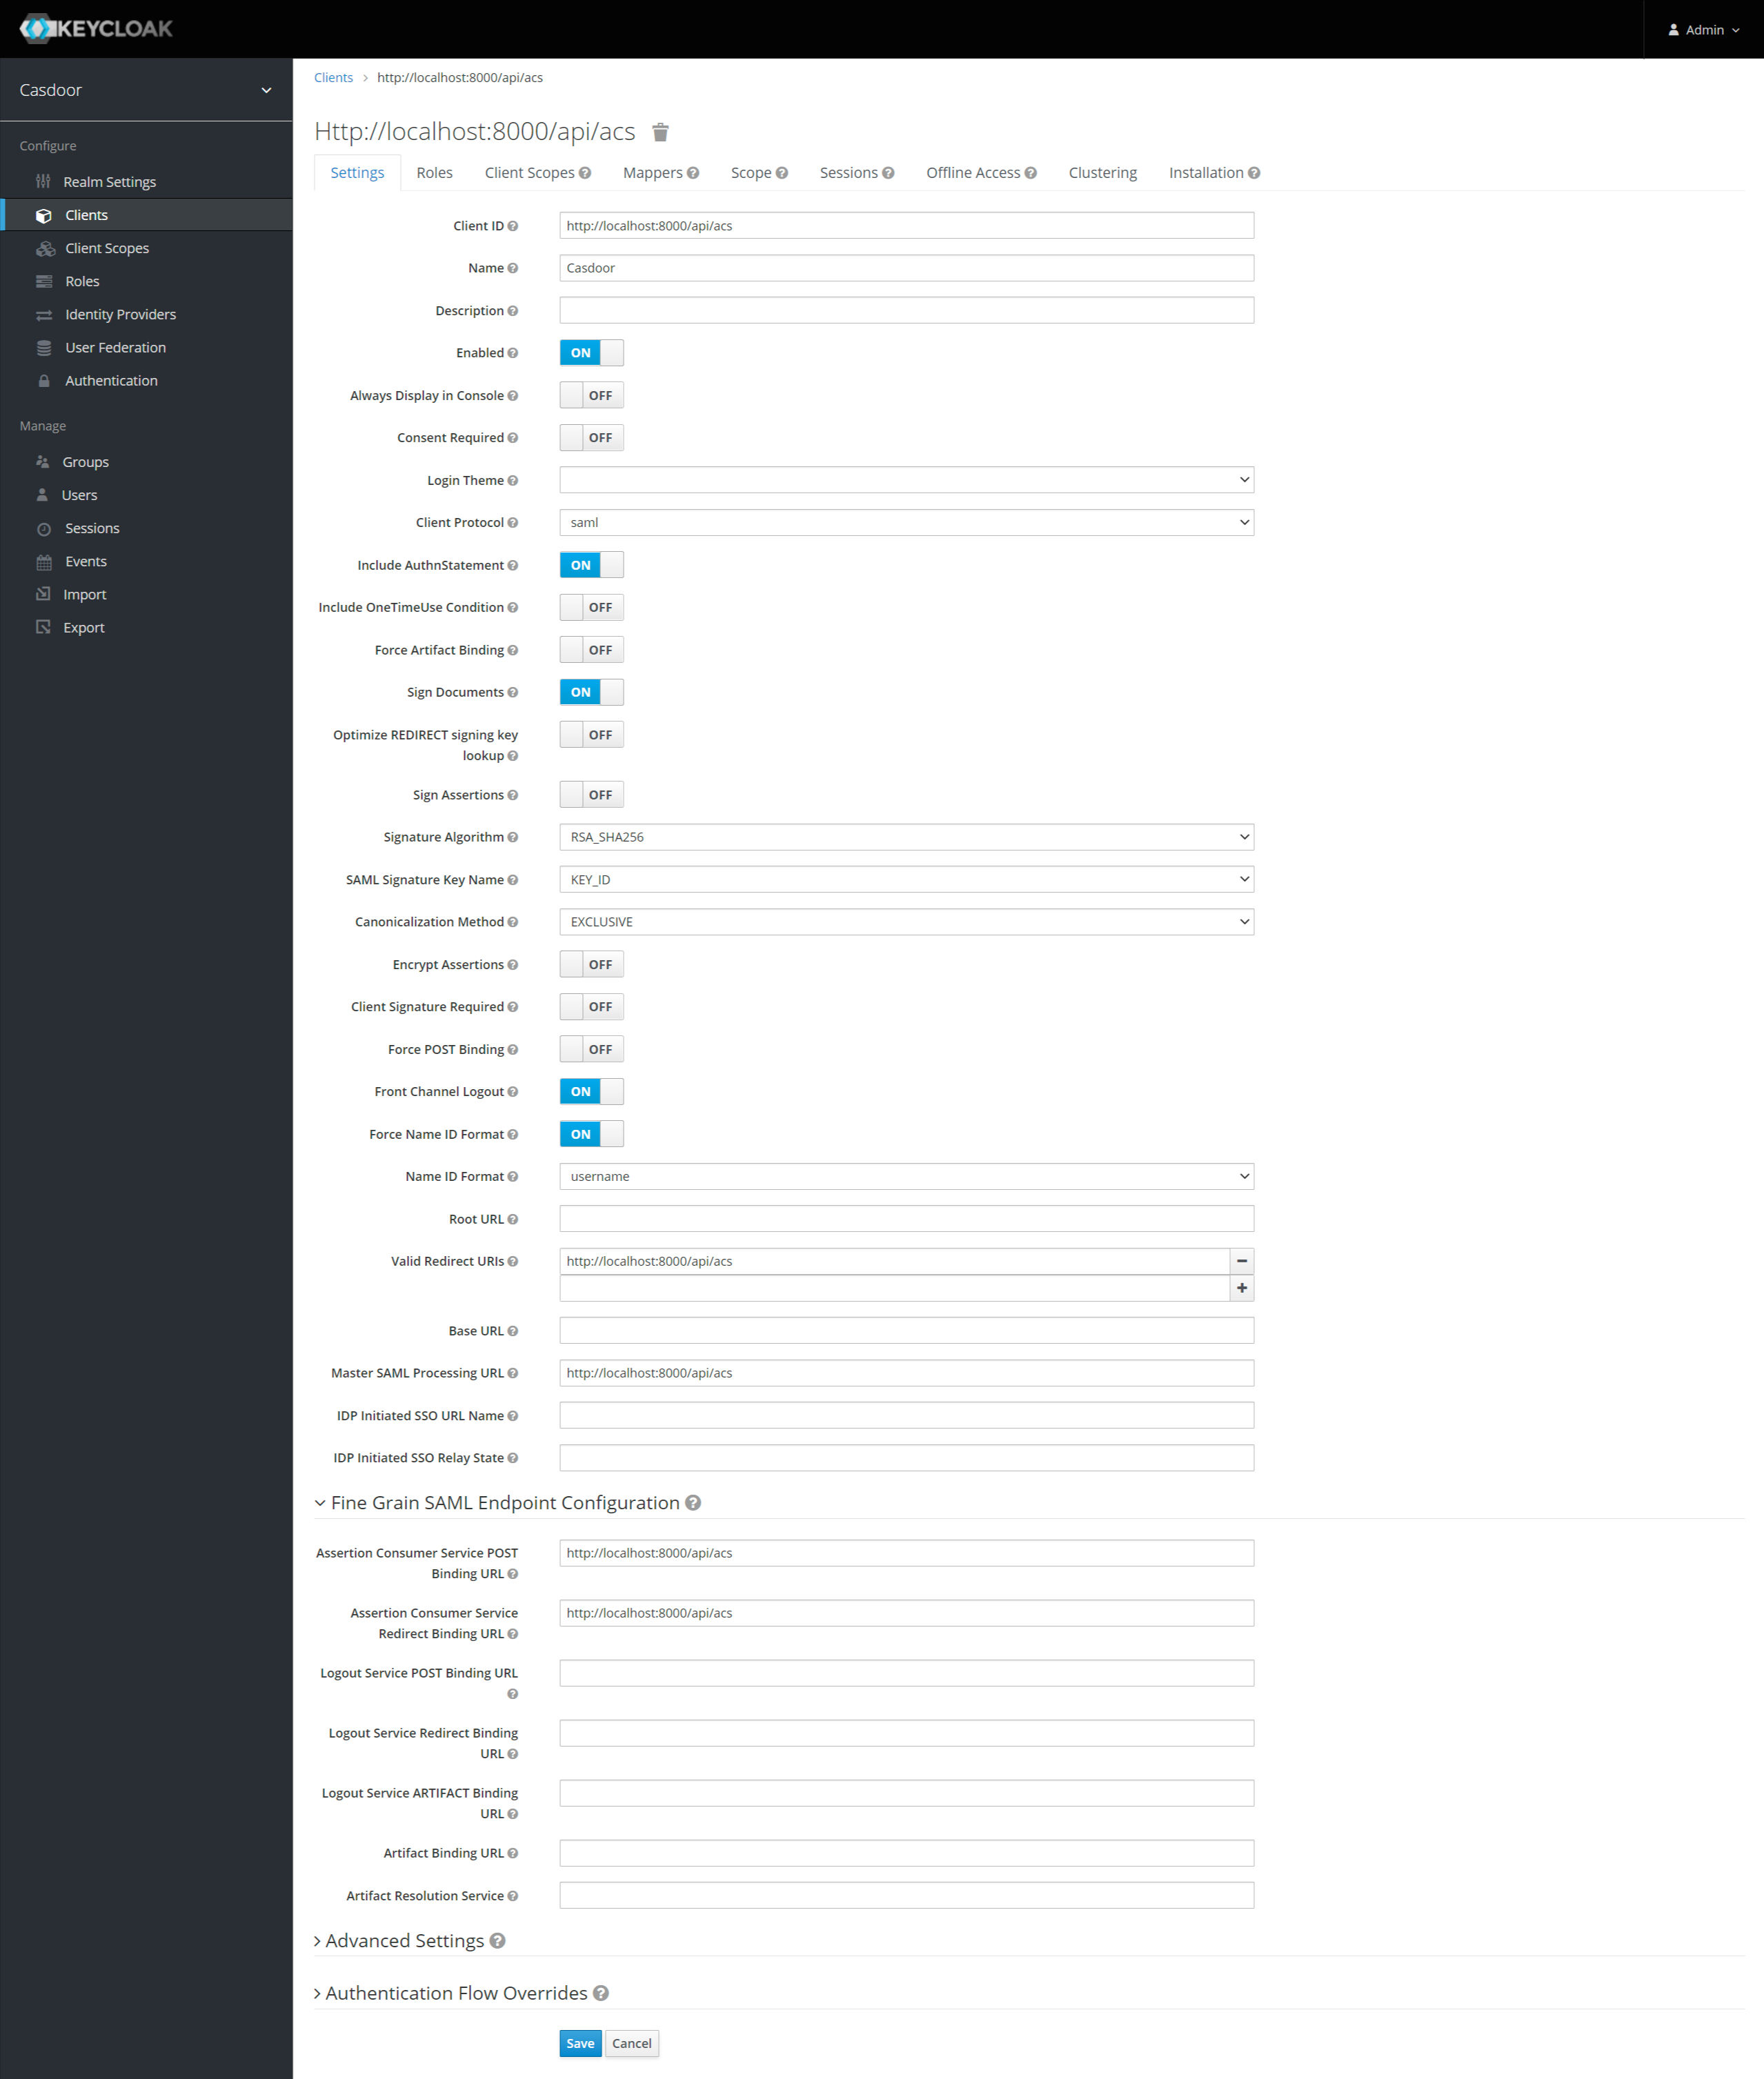
The
/api/acsendpoint accepts onlyPOSTrequests, so Keycloak must send the response with the POST binding. -
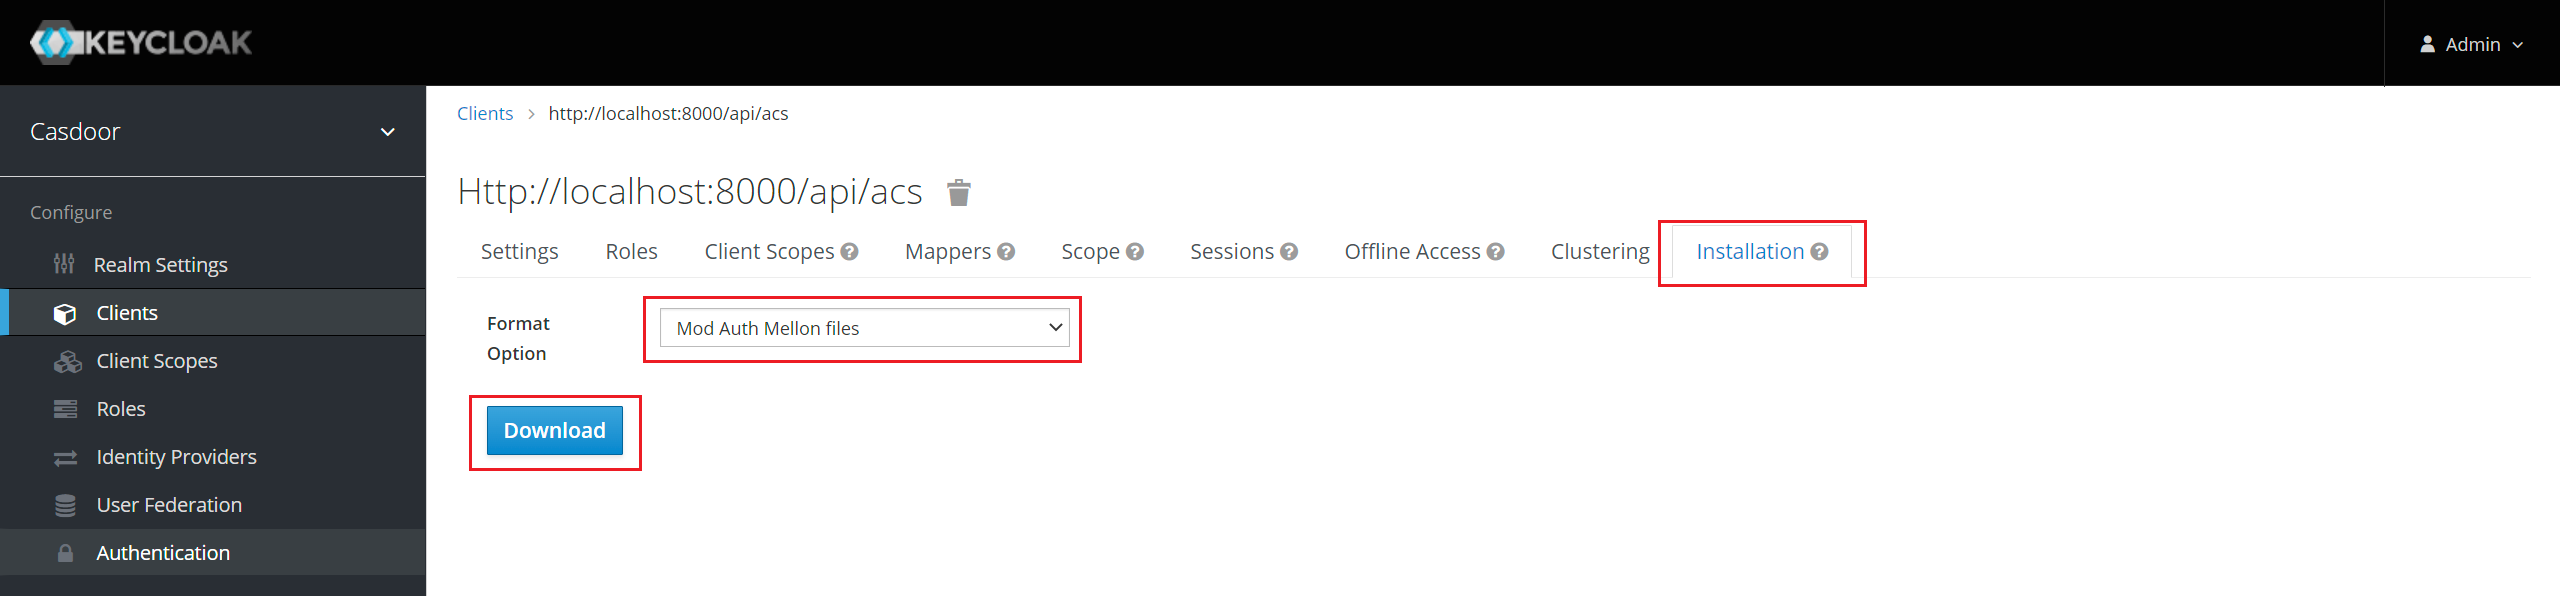
Go to the Installation tab and get the metadata:
- In Keycloak 5.0.0 and earlier, select the format SAML Metadata IDPSSODescriptor and copy the metadata.
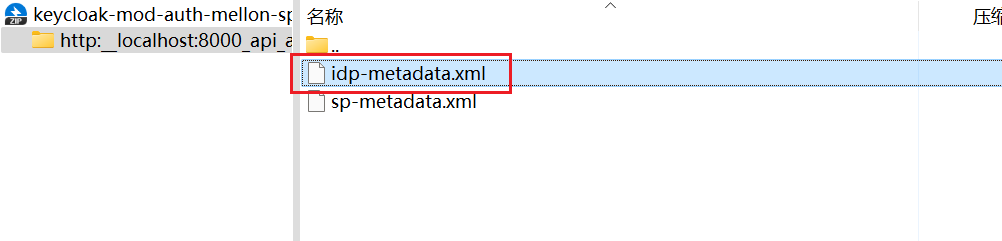
- In Keycloak 6.0.0 and later, select Mod Auth Mellon files, click Download, unzip the file, and copy the content of
idp-metadata.xml.
Add the provider in Casdoor
-
In the Casdoor admin console, go to Identity > Providers and add a provider.
-
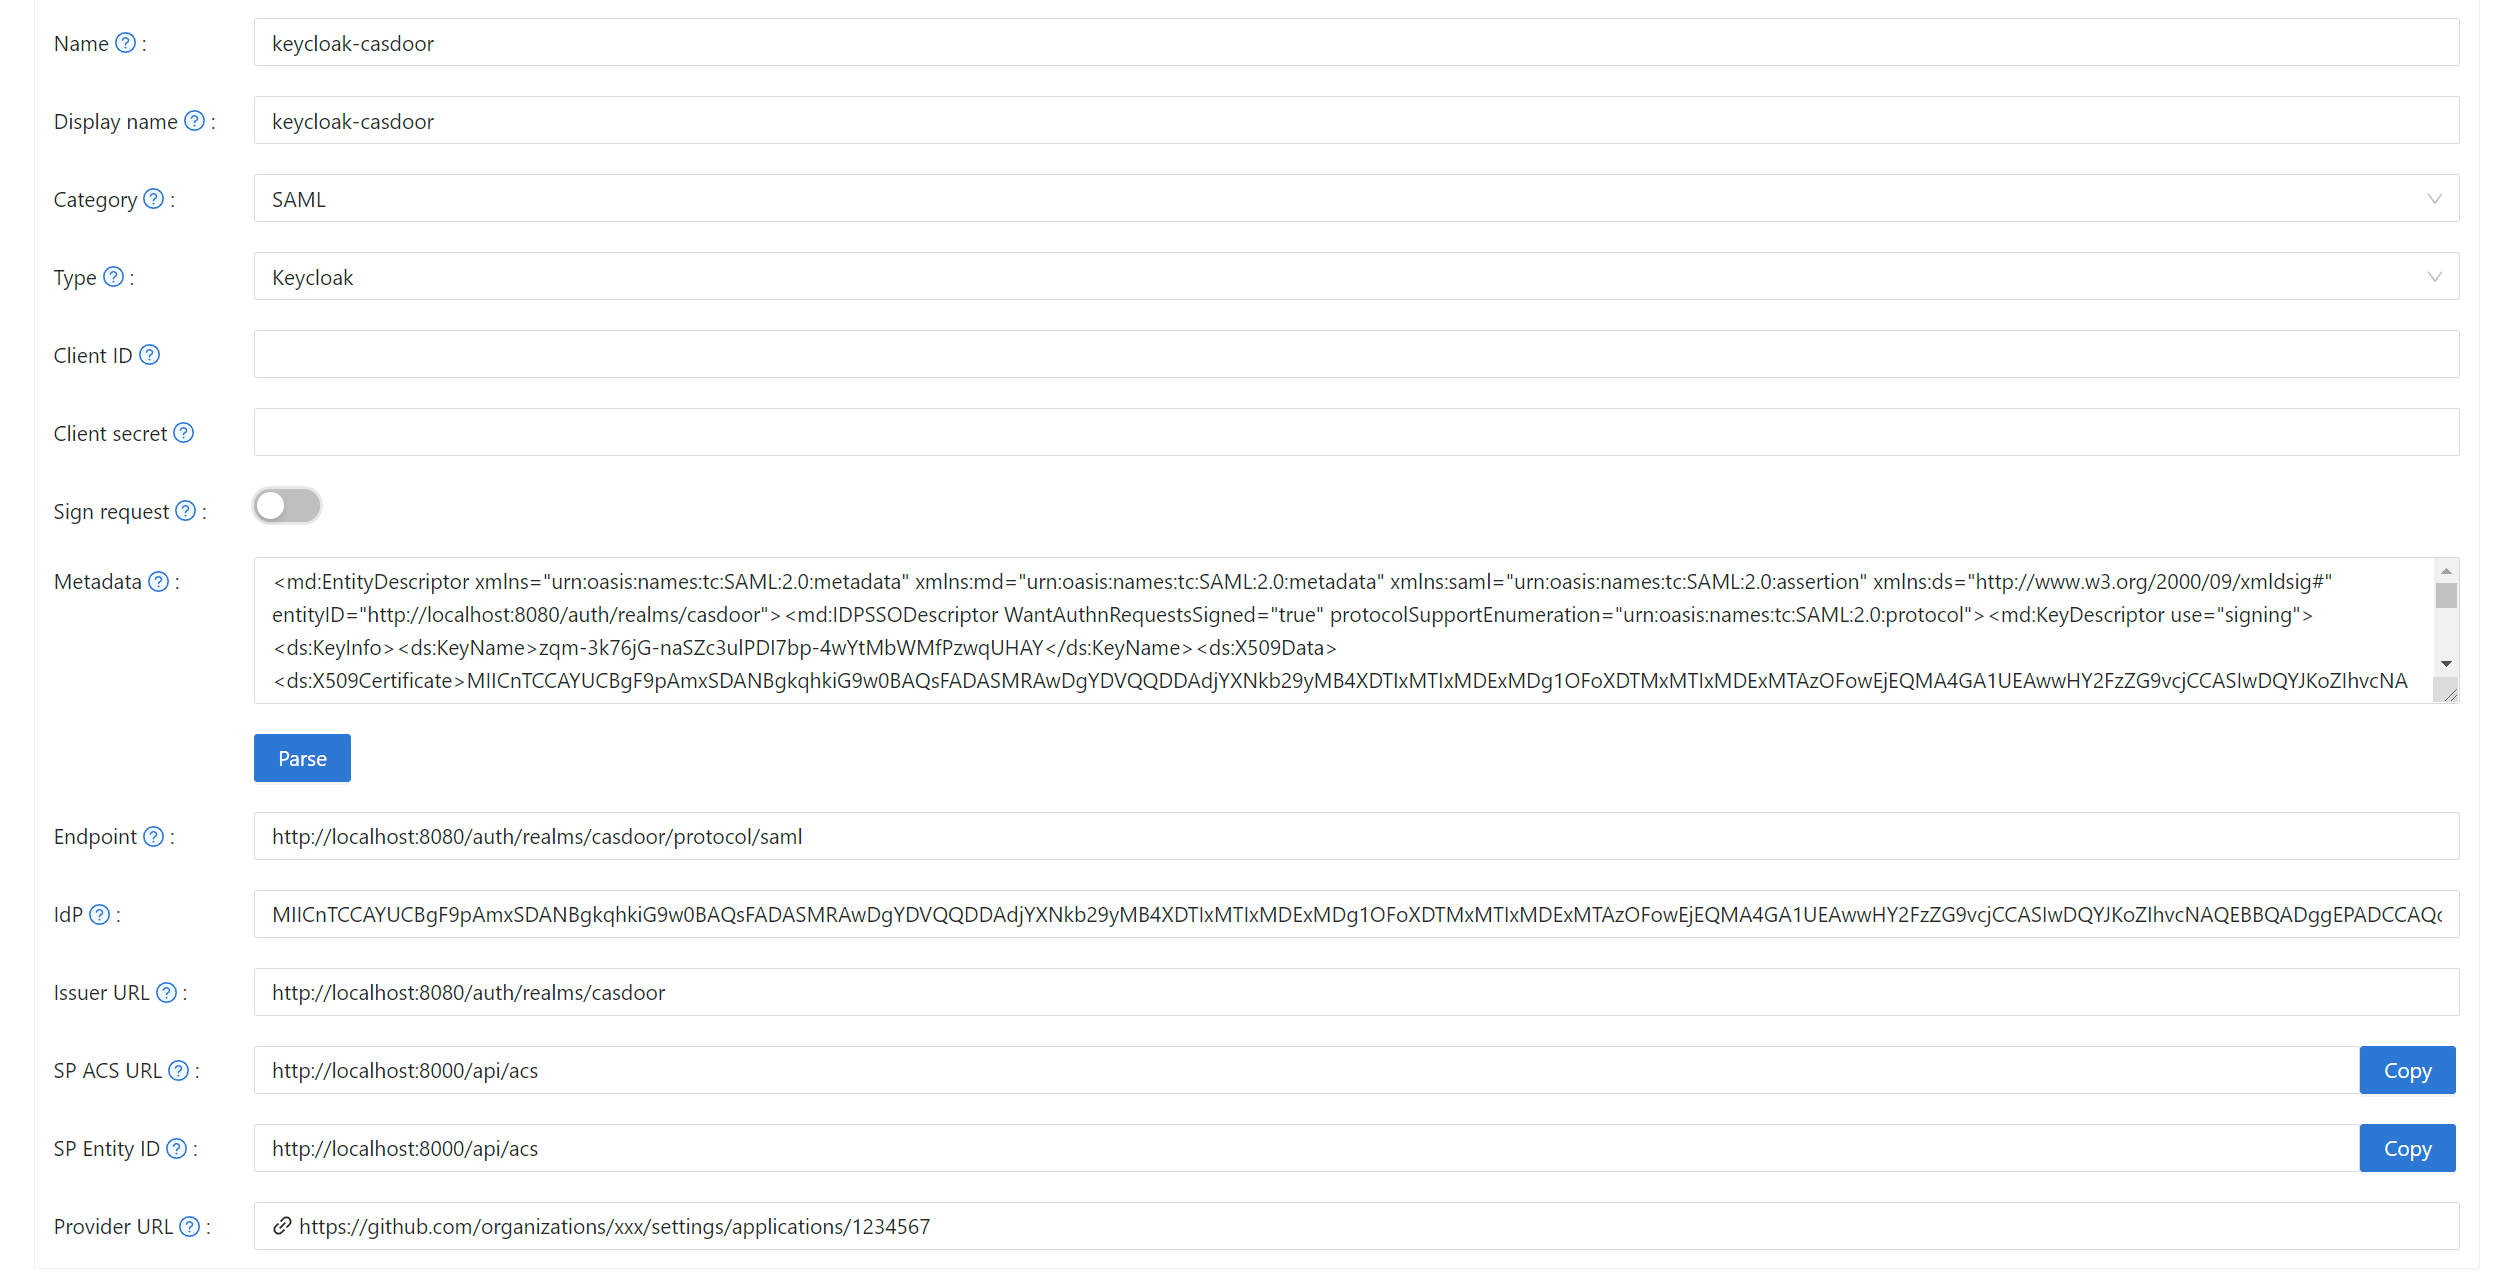
Set Category to
SAMLand Type toKeycloak. -
Paste the metadata into Metadata and click Parse. Casdoor fills in Endpoint, IdP, and Issuer URL.
-
Save the provider.
-
Open the edit page of your application, add the provider on the Providers tab, and save.

Sign the authentication request
To make Keycloak verify the requests of Casdoor:
- In Keycloak, turn on Client Signature Required for the client.
- Go to Keys > Import, select the archive format Certificate PEM, and upload the certificate of Casdoor. The private key and the certificate of Casdoor are
token_jwt_key.keyandtoken_jwt_key.pemin theobjectdirectory of the Casdoor source. - In Casdoor, turn on Sign request on the provider.
Verify the result
Open the sign-in page of the application and click the Keycloak button. After you sign in at Keycloak, you are signed in to Casdoor.