Spring Cloud Gateway
casdoor-springcloud-gateway-example是一个示例,说明如何在Spring Cloud Gateway中使用casdoor-spring-boot-starter作为OAuth2插件。以下是使用它的步骤描述。
步骤1:部署Casdoor
以生产模式部署 Casdoor。见 服务器安装。确认服务器可以访问,并且能在登录页登录(例如 admin / 123)。
步骤2:初始化一个Spring Cloud Gateway
示例代码可以直接用,也可以按你的应用修改。
您需要一个网关服务和至少一个业务服务。在这个例子中,casdoor-gateway 是网关服务,casdoor-api 是业务服务。
步骤3:包含依赖项
将 casdoor-spring-boot-starter 依赖项添加到您的 Spring Cloud Gateway 项目中。
对于Apache Maven:
<!-- https://mvnrepository.com/artifact/org.casbin/casdoor-spring-boot-starter -->
<dependency>
    <groupId>org.casbin</groupId>
    <artifactId>casdoor-spring-boot-starter</artifactId>
    <version>1.x.y</version>
</dependency>
对于Gradle:
// https://mvnrepository.com/artifact/org.casbin/casdoor-spring-boot-starter
implementation group: 'org.casbin', name: 'casdoor-spring-boot-starter', version: '1.x.y'
步骤4:配置您的属性
初始化需要6个参数,所有这些参数都是字符串类型。
| 名称(按顺序排列) | 需要 | 描述 |
|---|---|---|
| endpoint | 是 | Casdoor 服务器 URL,例如 http://localhost:8000 |
| clientId | 是 | Application.client_id |
| clientSecret | 是 | Application.client_secret |
| certificate | 是 | Application.certificate |
| organizationName | 是 | Application.organization |
| applicationName | 否 | Application.name |
通过 Java properties 或 YAML 初始化这些参数。
对于属性:
casdoor.endpoint=http://localhost:8000
casdoor.clientId=<client-id>
casdoor.clientSecret=<client-secret>
casdoor.certificate=<certificate>
casdoor.organizationName=built-in
casdoor.applicationName=app-built-in
对于YAML:
casdoor:
  endpoint: http://localhost:8000
  client-id: <client-id>
  client-secret: <client-secret>
  certificate: <certificate>
  organization-name: built-in
  application-name: app-built-in
同时配置网关路由。对于YAML:
spring:
  application:
    name: casdoor-gateway
  cloud:
    gateway:
      routes:
        - id: api-route
          uri: http://localhost:9091
          predicates:
            - Path=/api/**
步骤5:添加CasdoorAuthFilter
在网关中添加GlobalFilter接口的实现类,用于身份验证,例如本例中使用的CasdoorAuthFilter。
如果身份验证失败,它将返回401状态码给前端,以重定向他们到登录界面。
@Component
public class CasdoorAuthFilter implements GlobalFilter, Ordered {

    private static final Logger LOGGER = LoggerFactory.getLogger(CasdoorAuthFilter.class);

    @Override public int getOrder() {
        return 0;
    }

    @Override public Mono<Void> filter(ServerWebExchange exchange, GatewayFilterChain chain) {
        return exchange.getSession().flatMap(webSession -> {
            CasdoorUser user = webSession.getAttribute("casdoorUser");
            if (user != null) {
                return chain.filter(exchange);
            }
            ServerHttpResponse response = exchange.getResponse();
            response.setStatusCode(HttpStatus.UNAUTHORIZED);
            response.getHeaders().add("Content-Type", "application/json");
            return response.setComplete();
        });
    }
}
步骤6:获取服务并使用它
现在提供5项服务:CasdoorAuthService,CasdoorUserService,CasdoorEmailService,CasdoorSmsService,以及CasdoorResourceService。
在 Gateway 项目中按如下方式创建它们。
@Resource
private CasdoorAuthService casdoorAuthService;
当应用需要认证时,带上目标地址跳转到 Casdoor 登录页。
提前把回调地址(例如 http://localhost:9090/callback)加到 Casdoor 应用中。
@RequestMapping("login")
public Mono<String> login() {
    return Mono.just("redirect:" + casdoorAuthService.getSigninUrl("http://localhost:9090/callback"));
}
Casdoor 验证用户后,会带着 code 和 state 跳回应用;用 code 和 getOAuthToken 获取 JWT。
CasdoorUser 保存来自 Casdoor 的用户信息,用它在你的应用中建立会话。
@RequestMapping("callback")
public Mono<String> callback(String code, String state, ServerWebExchange exchange) {
    String token = "";
    CasdoorUser user = null;
    try {
        token = casdoorAuthService.getOAuthToken(code, state);
        user = casdoorAuthService.parseJwtToken(token);
    } catch(CasdoorAuthException e) {
        e.printStackTrace();
    }
    CasdoorUser finalUser = user;
    return exchange.getSession().flatMap(session -> {
        session.getAttributes().put("casdoorUser", finalUser);
        return Mono.just("redirect:/");
    });
}
以下是API的示例。
- CasdoorAuthService
String token = casdoorAuthService.getOAuthToken(code, "app-built-in");CasdoorUser casdoorUser = casdoorAuthService.parseJwtToken(token);
- CasdoorUserService
CasdoorUser casdoorUser = casdoorUserService.getUser("admin");CasdoorUser casdoorUser = casdoorUserService.getUserByEmail("admin@example.com");CasdoorUser[] casdoorUsers = casdoorUserService.getUsers();CasdoorUser[] casdoorUsers = casdoorUserService.getSortedUsers("created_time", 5);int count = casdoorUserService.getUserCount("0");CasdoorResponse response = casdoorUserService.addUser(user);CasdoorResponse response = casdoorUserService.updateUser(user);CasdoorResponse response = casdoorUserService.deleteUser(user);
- CasdoorEmailService
CasdoorResponse response = casdoorEmailService.sendEmail(title, content, sender, receiver);
- CasdoorSmsService
CasdoorResponse response = casdoorSmsService.sendSms(randomCode(), receiver);
- CasdoorResourceService
CasdoorResponse response = casdoorResourceService.uploadResource(user, tag, parent, fullFilePath, file);CasdoorResponse response = casdoorResourceService.deleteResource(file.getName());
步骤7:重启项目
启动项目后,打开你最喜欢的浏览器并访问 http://localhost:9090。然后点击任何请求来自casdoor-api的资源的按钮。
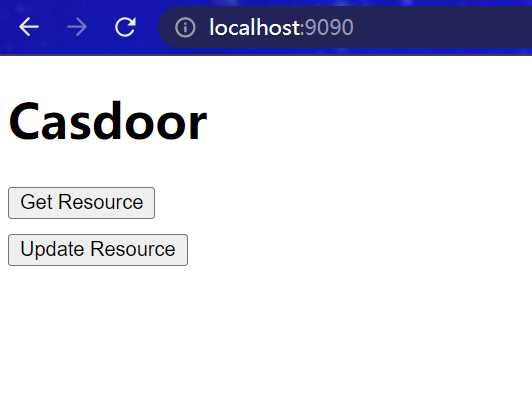
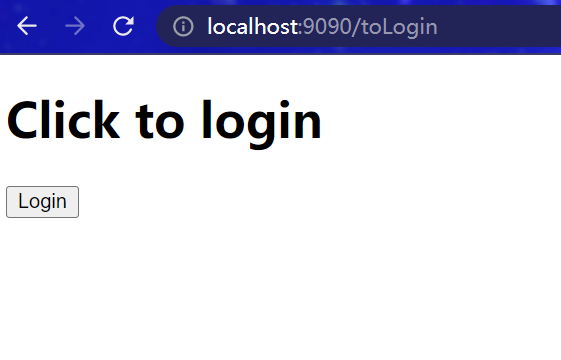
网关会触发认证,未登录的用户会被跳转到登录页。点击 Login。
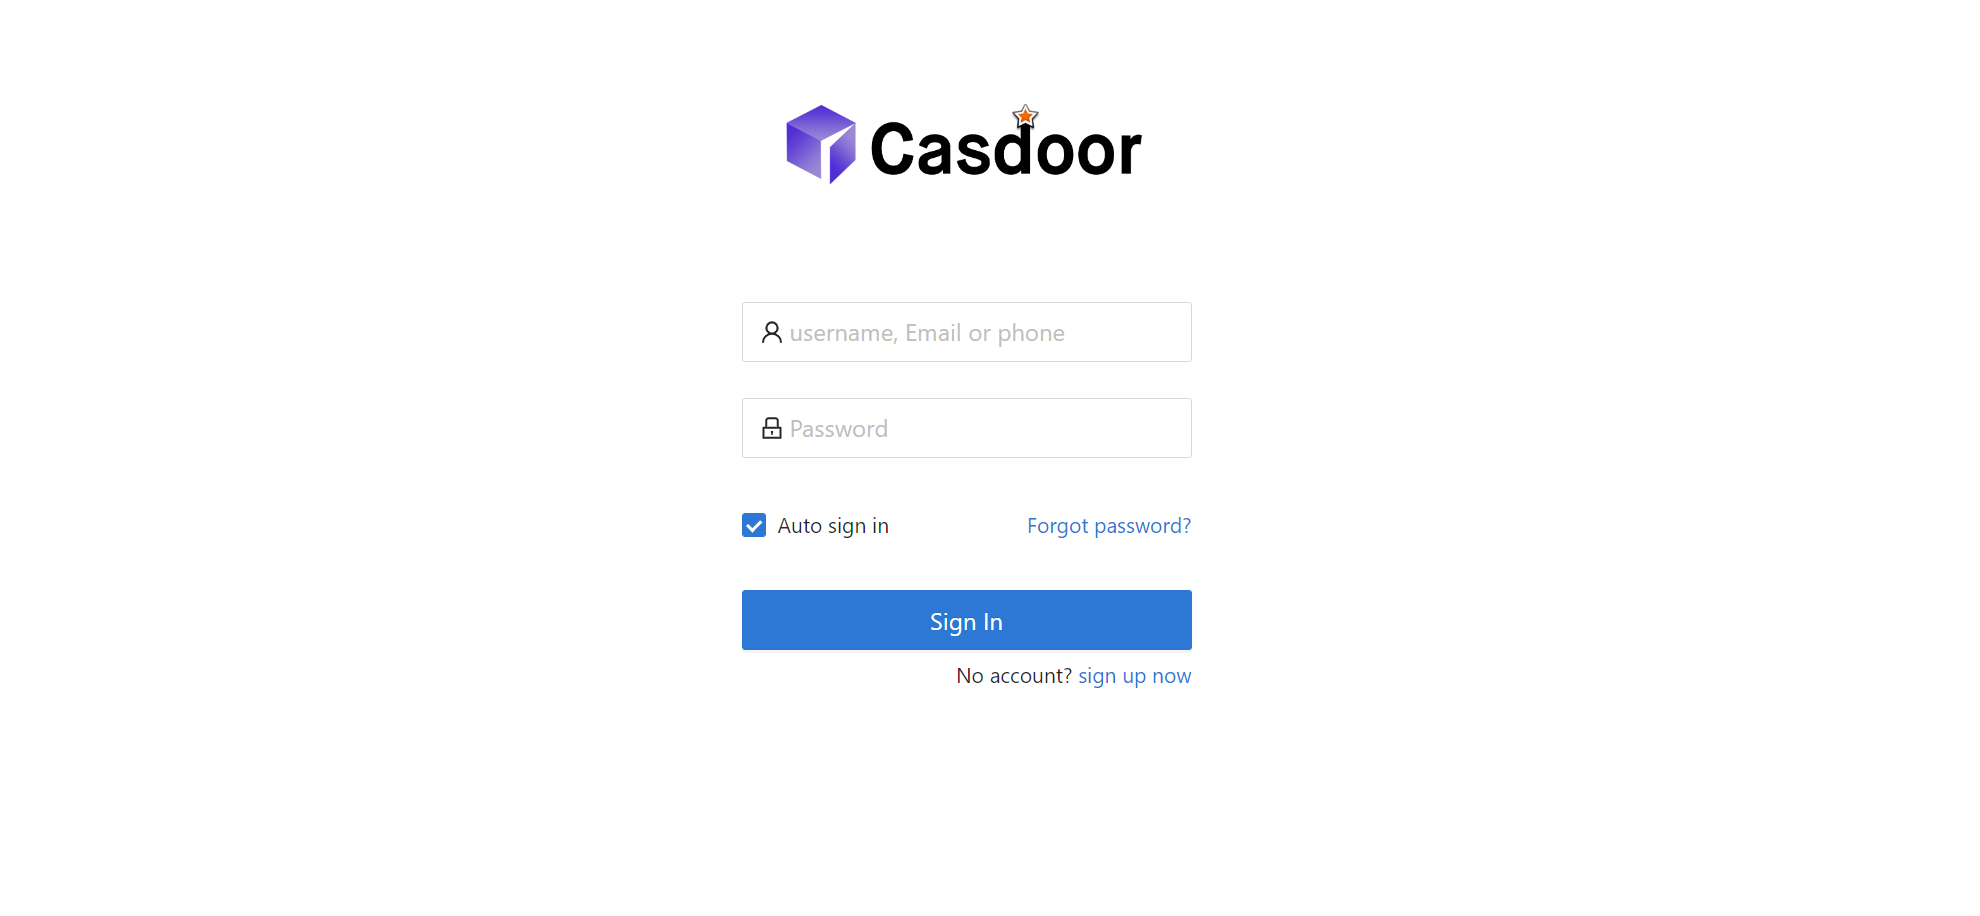
会显示 Casdoor 登录页。
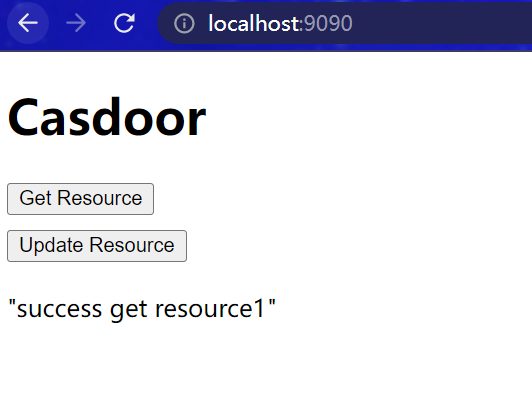
登录后跳转到主界面,就可以继续使用应用了。
更多内容
更多 Java 集成内容,见以下项目和文档。